The first step in building the frame was to determine the total width between the two frame ends (i.e., the ID of the frame width). This was primarily dictated by the bar width and the gaps between the bars. As we’ve described, each of the bars was 1.5 inches wide. The width of the saddle pin with the surgical tubing attached was just about ¼ inch. We messed around a little and found that an extra 1/16 of an inch was about right to include for additional spacing around the pins, yielding a total gap between each pair of bars of 5/16 of an inch.
Next, we had to figure out how much space to leave for the corner posts and springs that are situated between the end bars and the frame. We determined this spacing empirically by laying out the springs and the corner posts on a table top and adjusted the spacing until we had enough rough to comfortably reach the springs between the outside bar end and the inside edge of the frame end. We found that 3 cm was about right for this spacing.
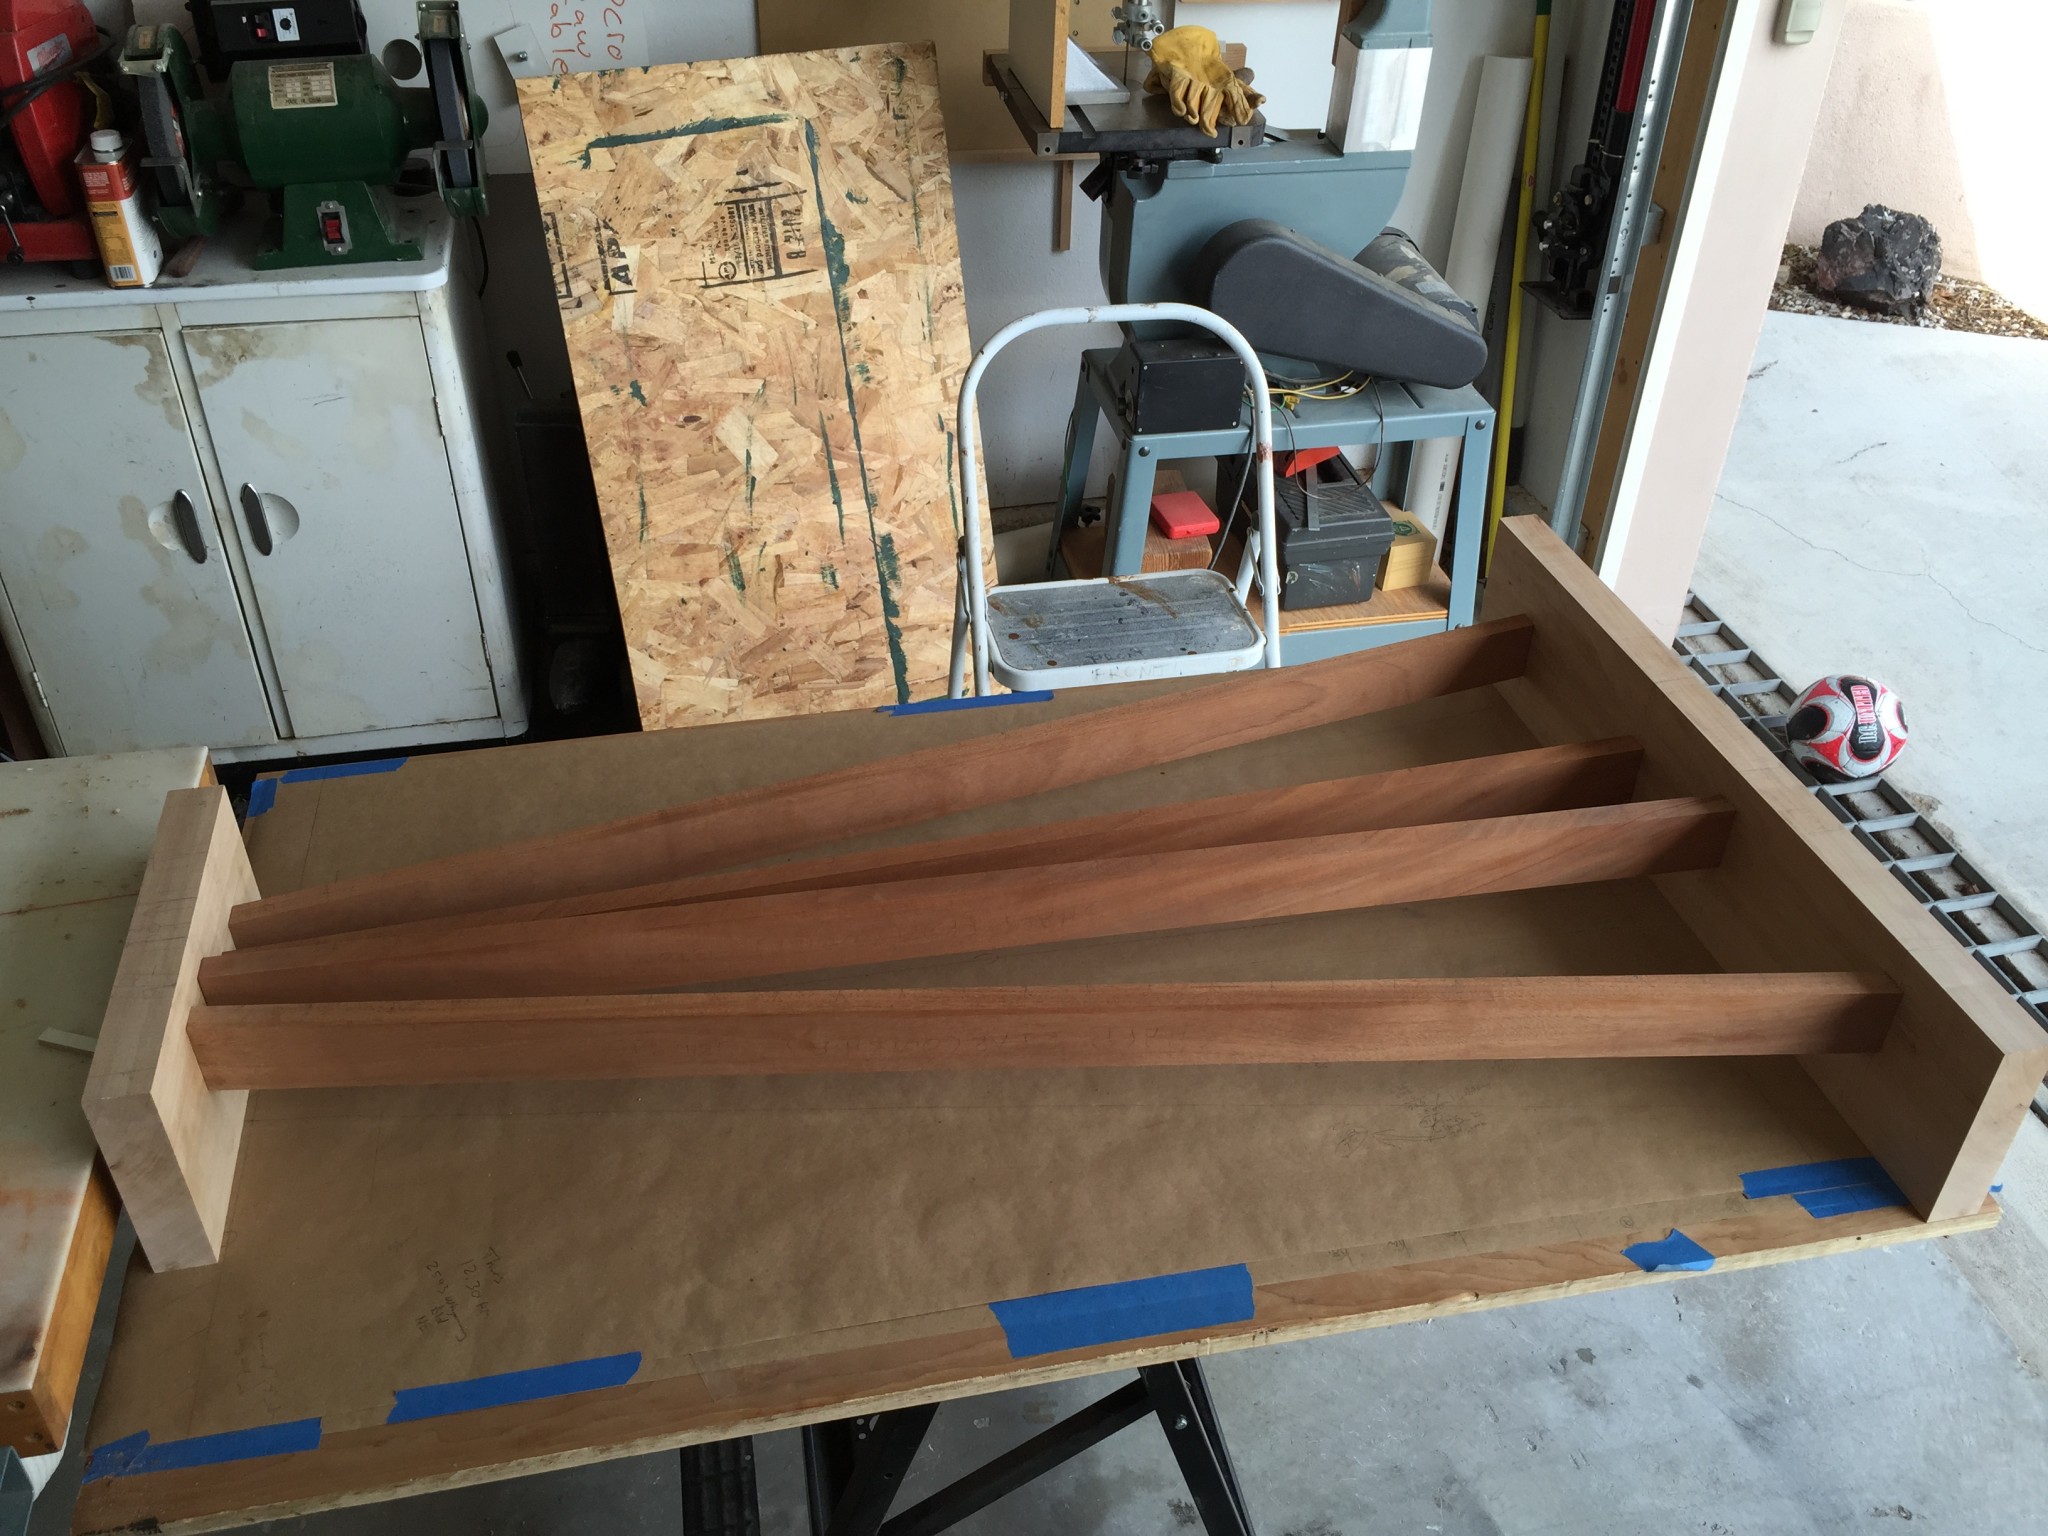
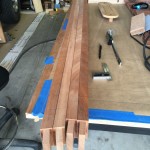
Now we had enough information to compute the total distance between the frame ends. For those of you who have gotten this far, I probably don’t have to tell you that xylophone bars are laid out like piano keys where the white natural keys are toward the player and the black accidental keys are toward the rear. But just to make it clear, here is a rough layout of my 44 bars:
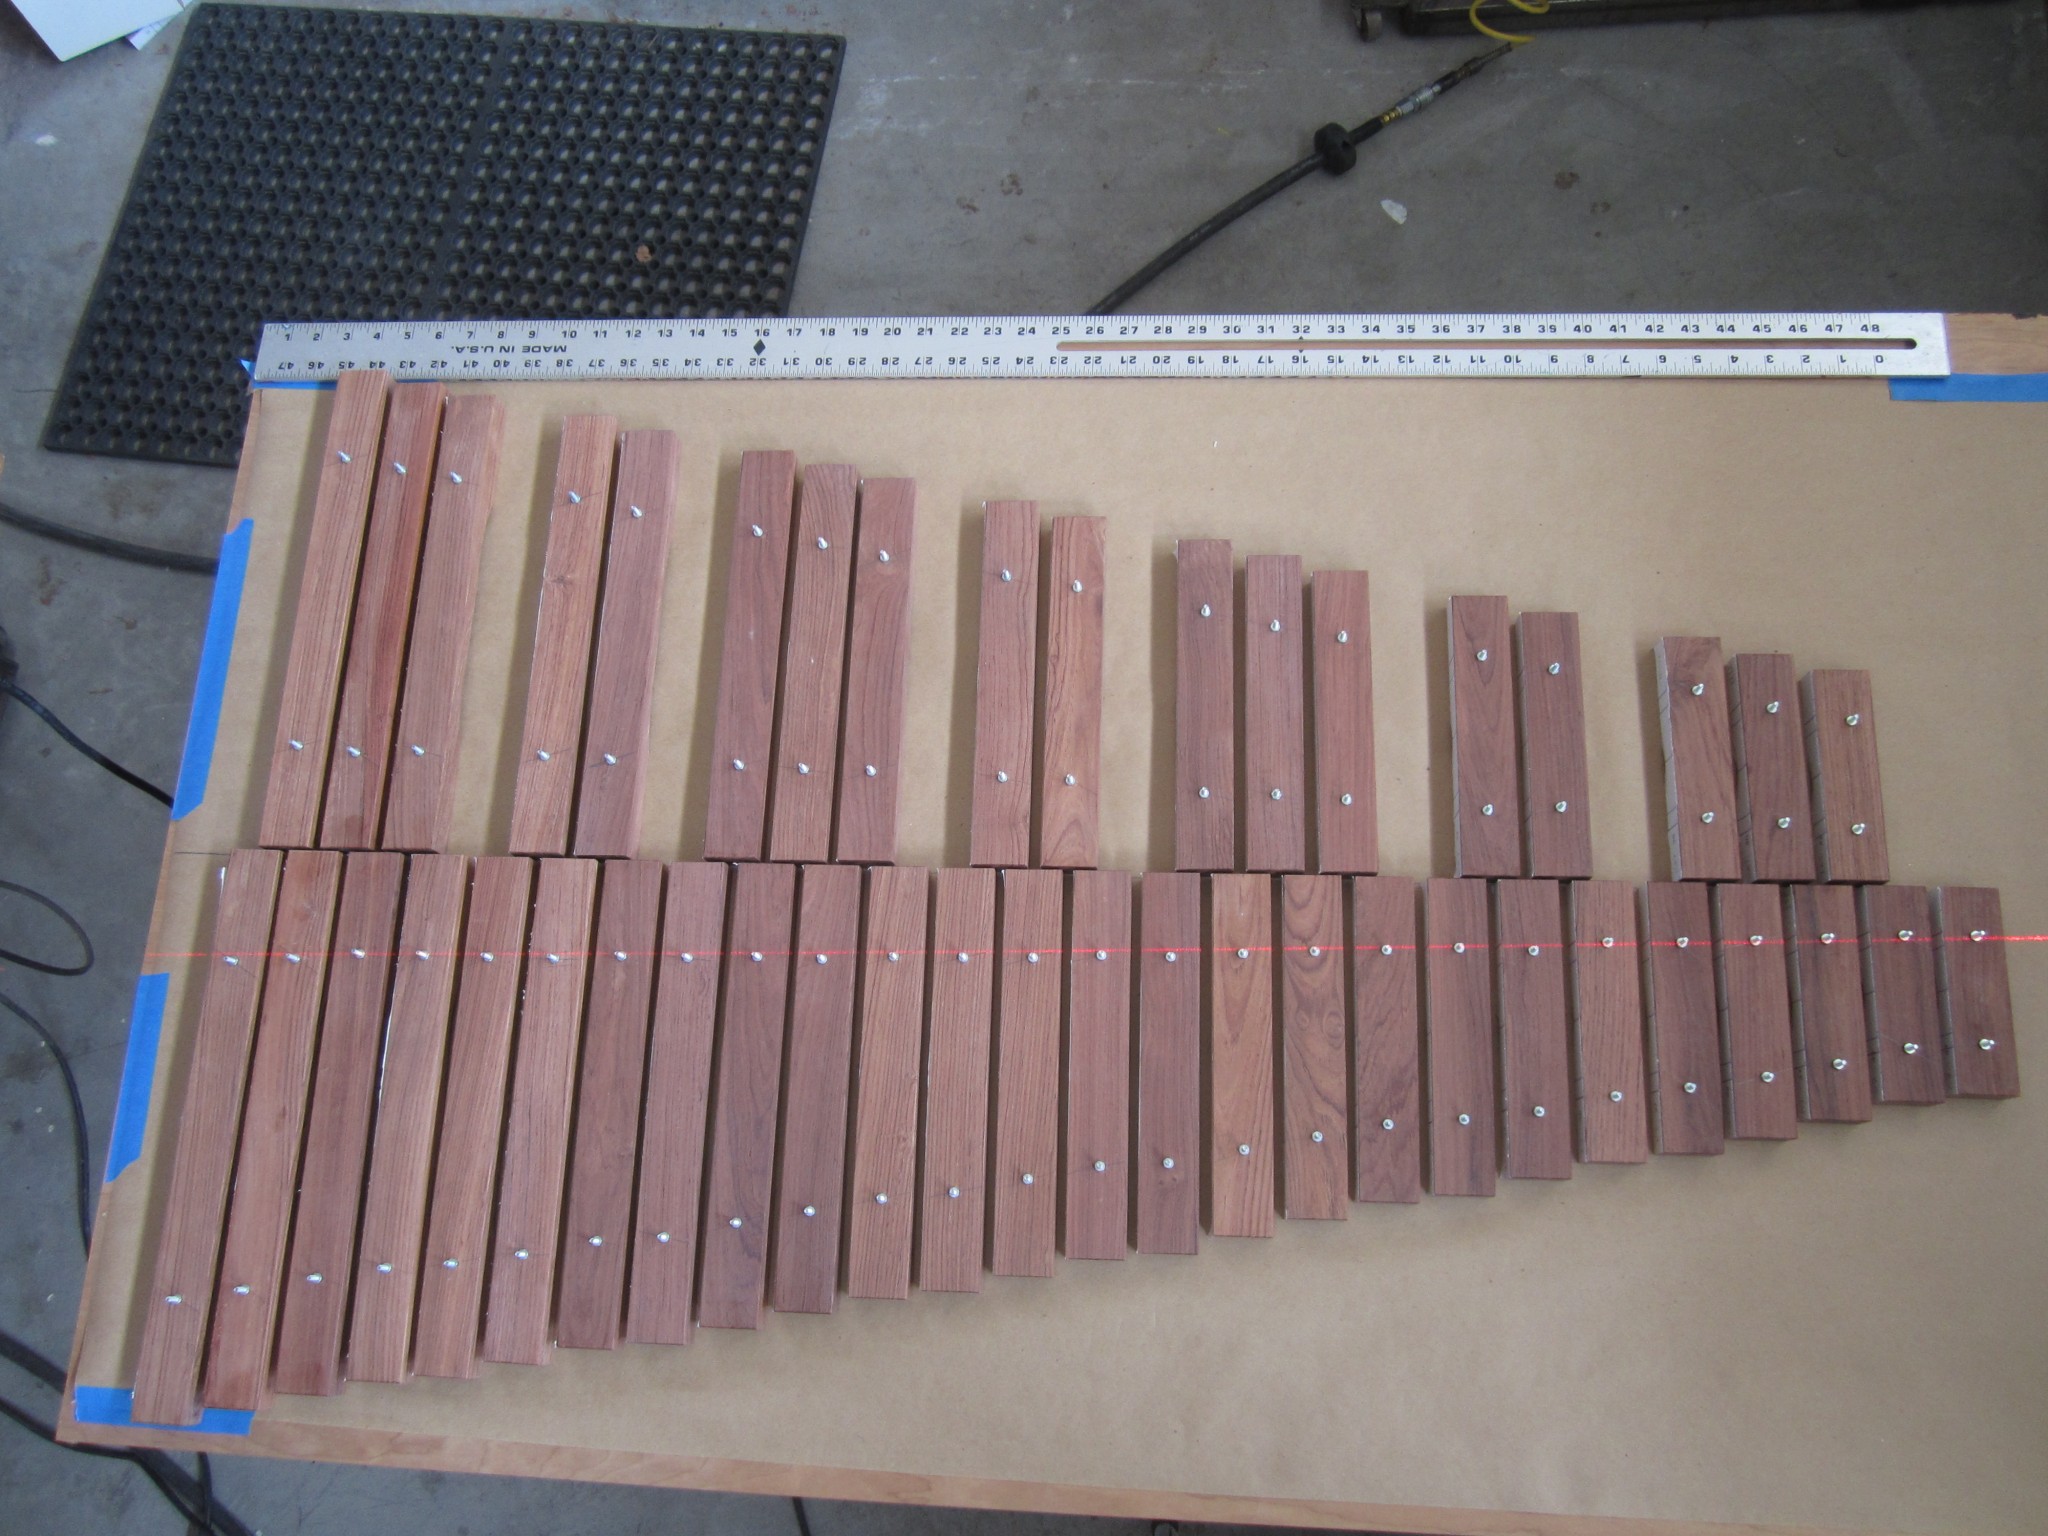
As you can see, the natural bars (at the bottom of the photo) determine the total width of the instrument, since the total width for these is greater than for the accidental bars. So the total inside dimension of the instrument is becomes
The bar width and gap width define the X location (i.e. left/right) of each natural bar, and the pins are of course just centered between each bar. The X center position of each accidental bar just lines up with each natural bar gap center. I had a big complicated Excel spreadsheet that computed all of these dimensions, but this turned out to be more complicated than it needed to be, so I won’t confuse you by including it. I’m sure you can do a bit of arithmetic and determine the bar locations…
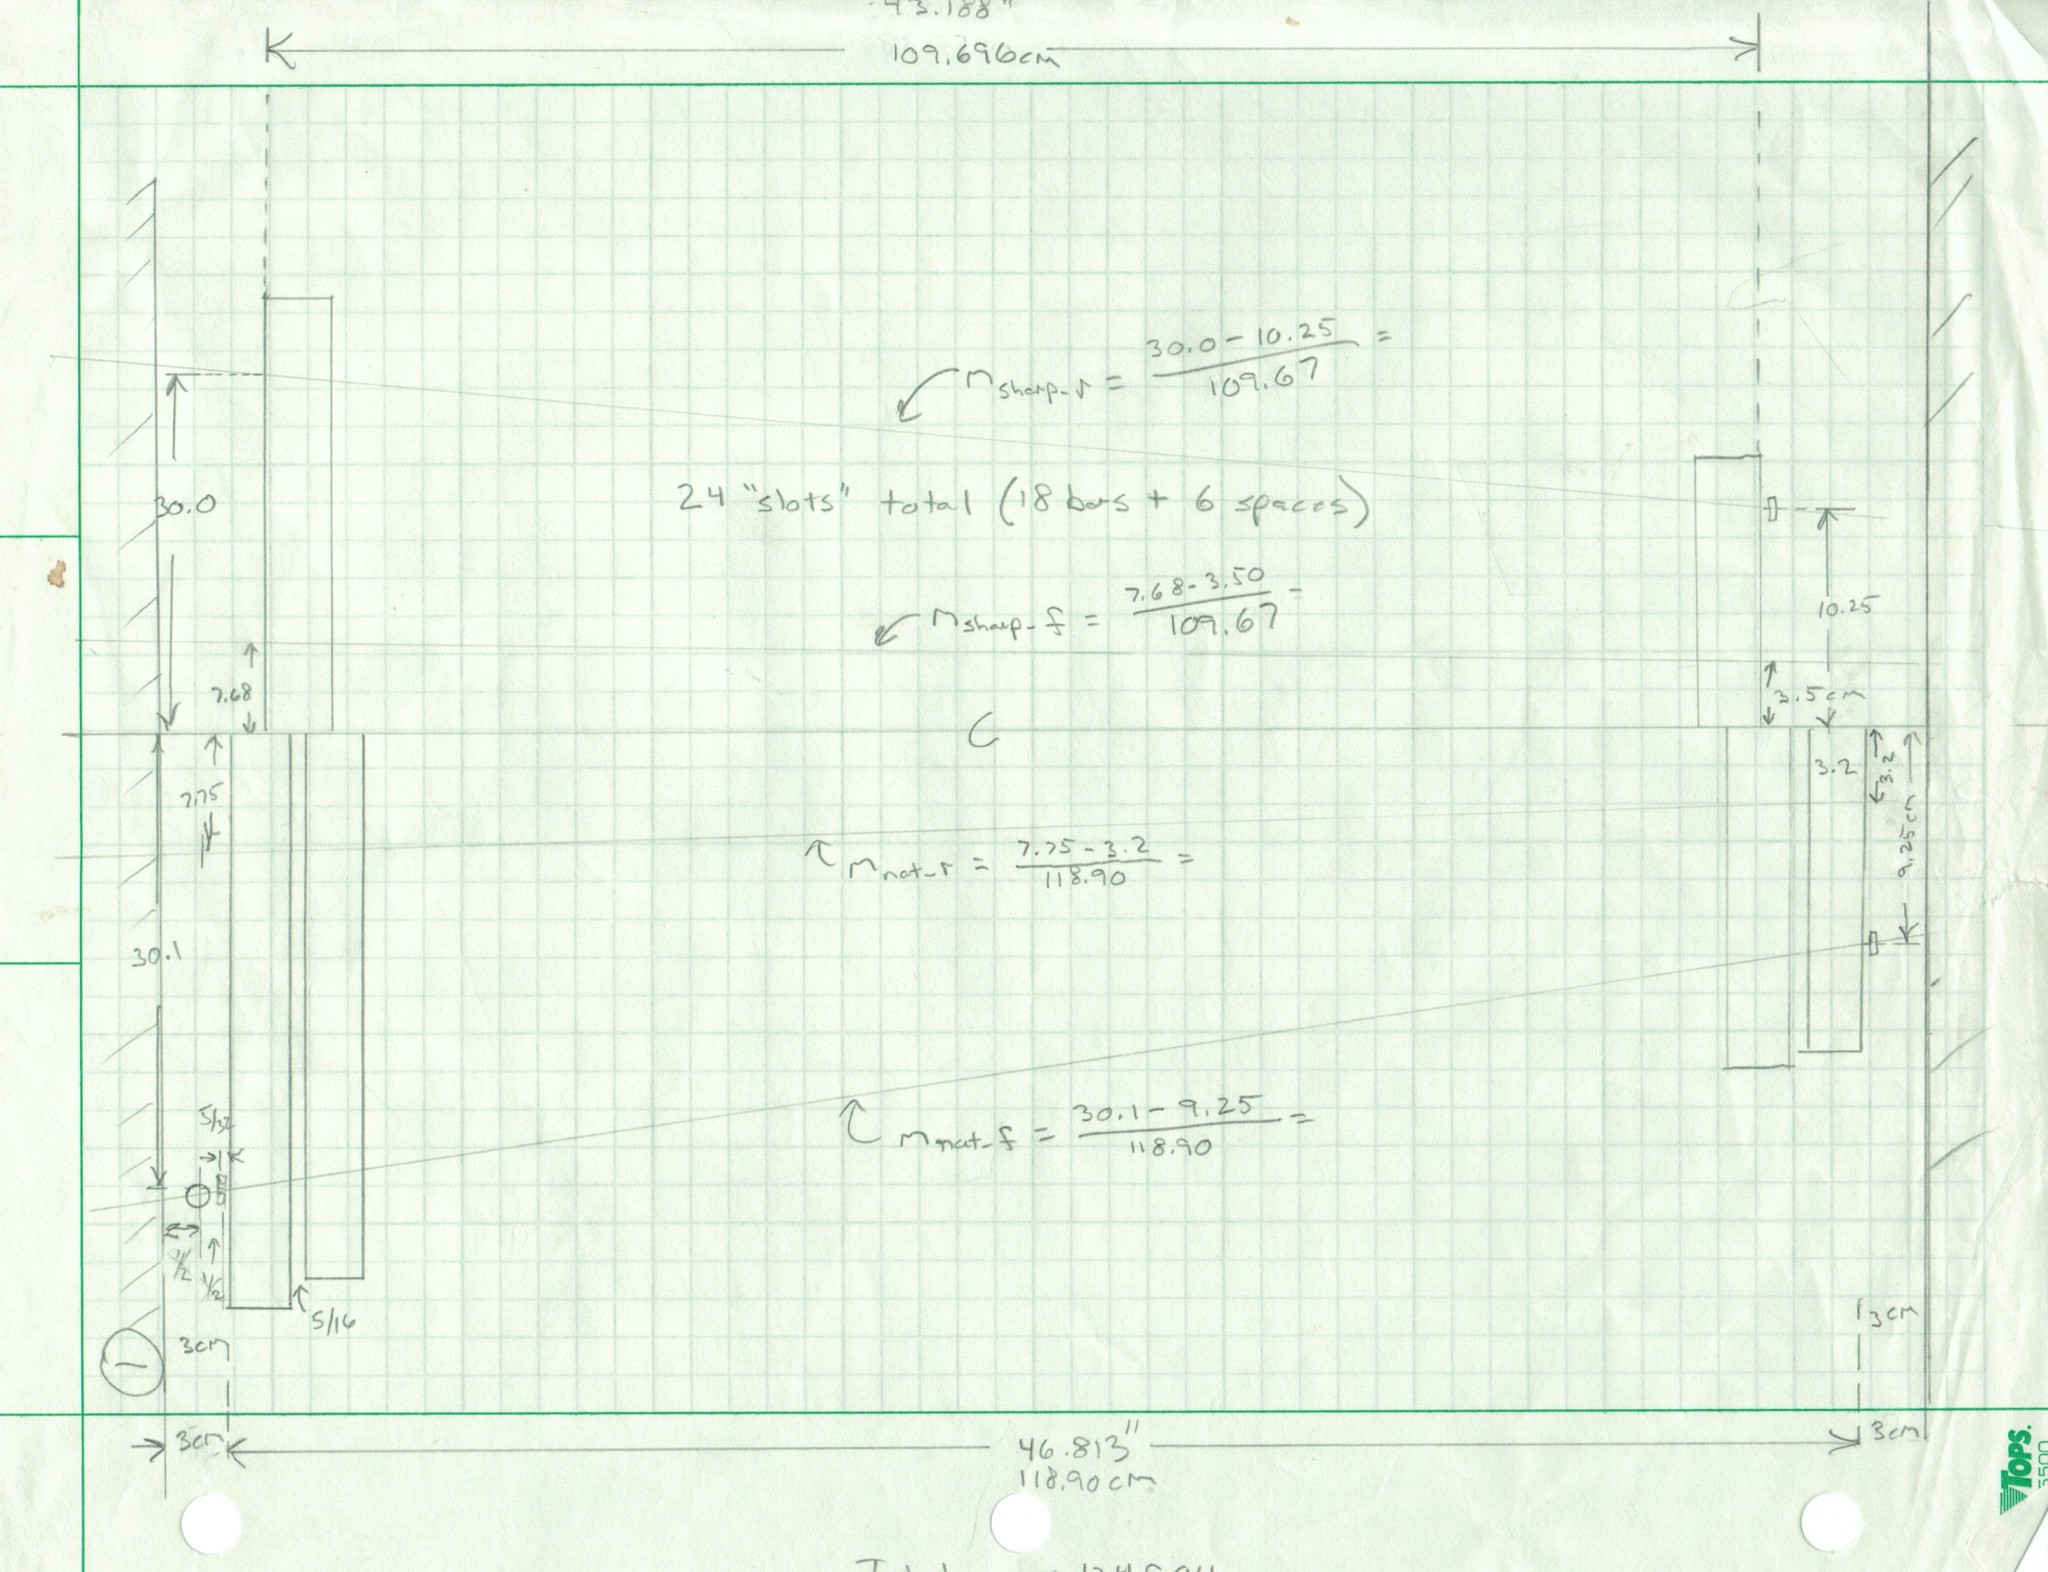
Dimensionally, we also had to determine the Y spacing (i.e., fore/aft) between the rails. Recall that the angles of the bar support rails was previously determined by lining up yellow thread suspended by posts with the average node locations. With the 124.9 cm ID spacing drawn on a large piece of construction paper, we simply marked the physical locations of the thread intersection with the inside edges of the frame ends on the paper for both the natural and accidental bars. We were careful to allow for clearance necessary to ensure that the aft ends of the natural bars were about ¼ inch away from the front accidental support rail. This established the center lines for each of the four angled support rails. Here are a couple of scrappy drawings that may help to illustrate all of this.
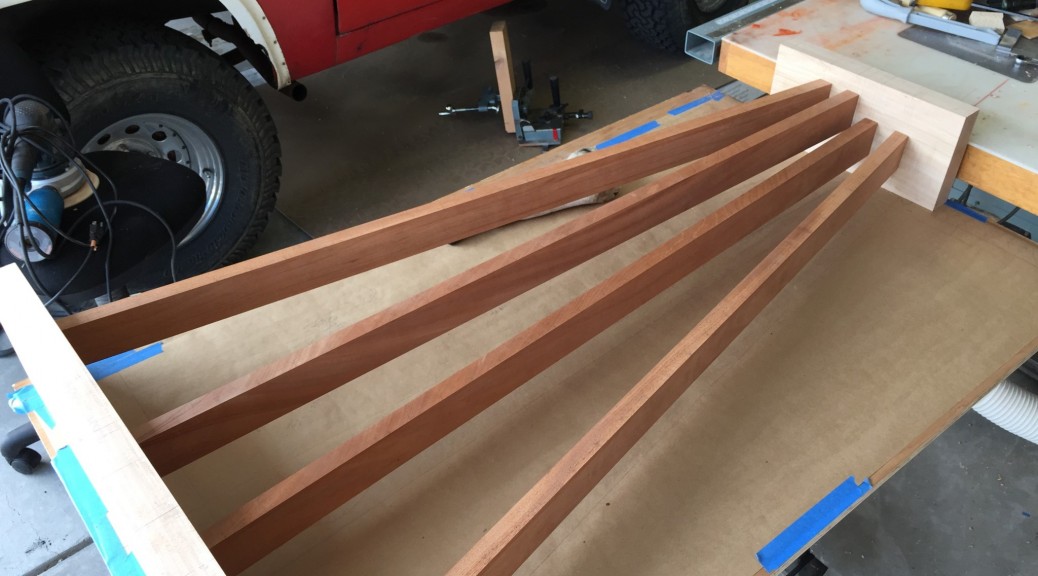
In addition to the photo at the top of this page, here is another picture of the rails attached to the frame ends to illustrate the geometry:
The only dimensioning left was to determine the Z spacing (i.e., up/down) of the accidental bars relative to the natural bars. You can see in the photo above that the rails for the accidental bars are elevated above the natural bars. Elevating the accidental bars minimizes the fore/aft spacing of the natural and accidental bars by allowing the accidental bars to overlap the natural bars. The vertical gap between the natural and accidental bars was sent to ½ inch to ensure that the bars would not touch even if the string was loose and the bars sagged.
Laying Out the Frame Ends
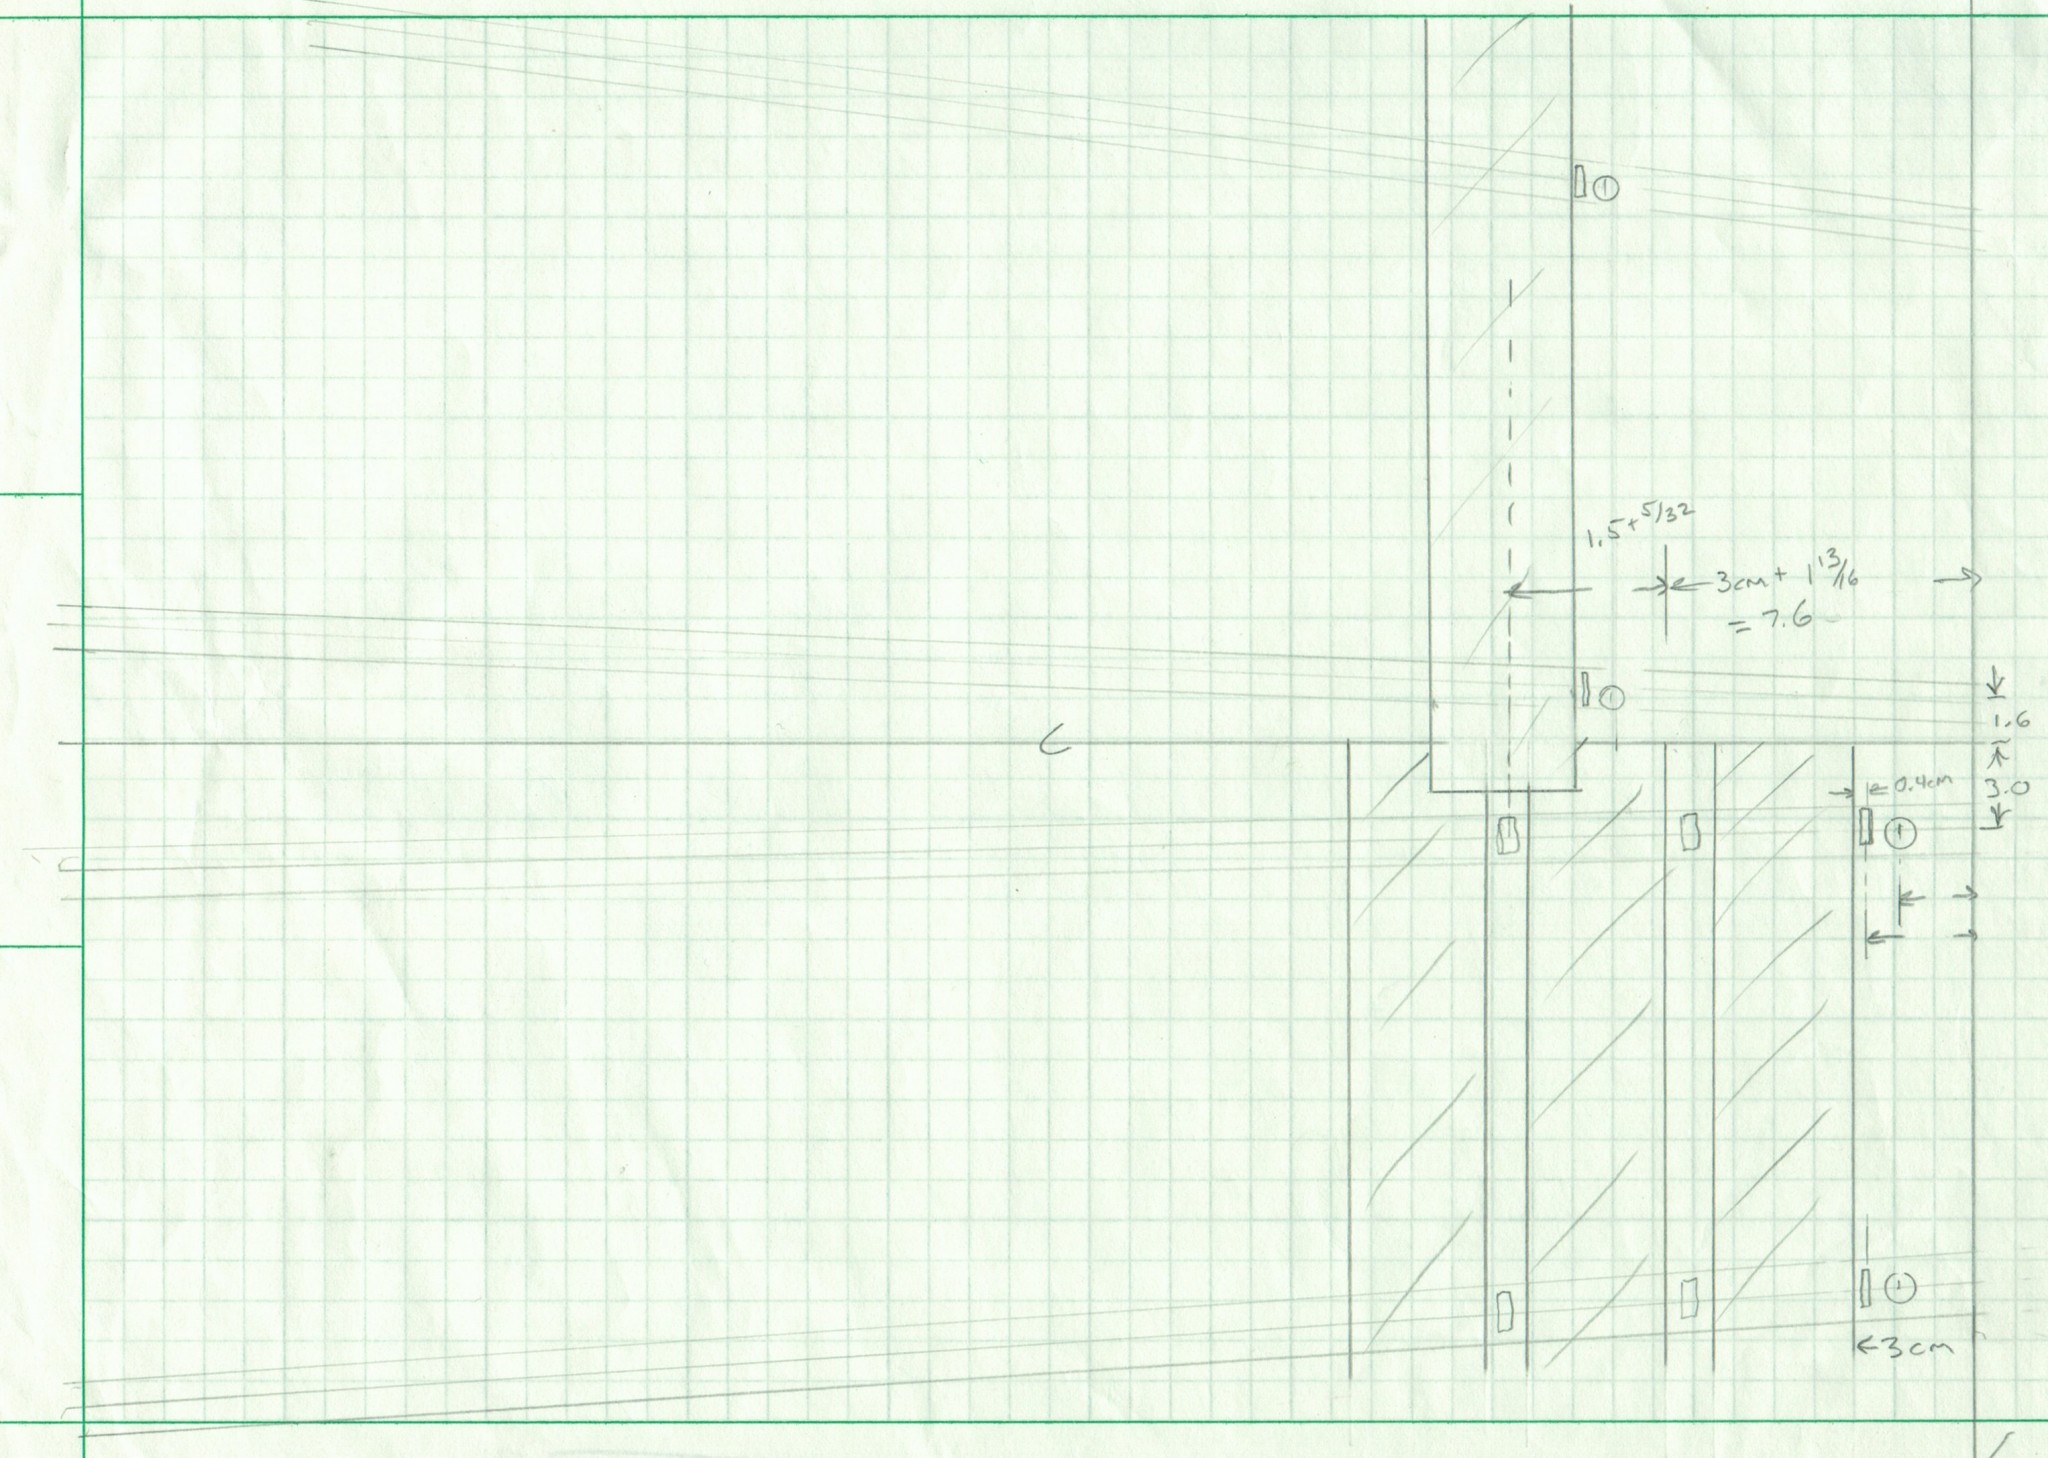
We built the frame ends out of 8/4 maple (after dimensioning the lumber, the thickness was about 1.75 inches) that had a bit of figure to it. We wanted these to be beefy, because we knew that it needed to keep the support rails from racking, and it needed to support bolt-on legs. However, at this point we weren’t quite sure what exact shape we wanted for the frame ends but did know that we wanted the top of them to be roughly level with the top of the suspended accidental bars. So we oversized them prior to cutting the mortises that would receive the rail tenons. We had to figure in the total height of the bar above the suspension rail, which is of course a function of the saddle posts that hold up the bars. So we drew the following picture to try to get all of the dimensions right. Again, this picture a pretty scrappy picture, but at least has all of the dimensions annotated.
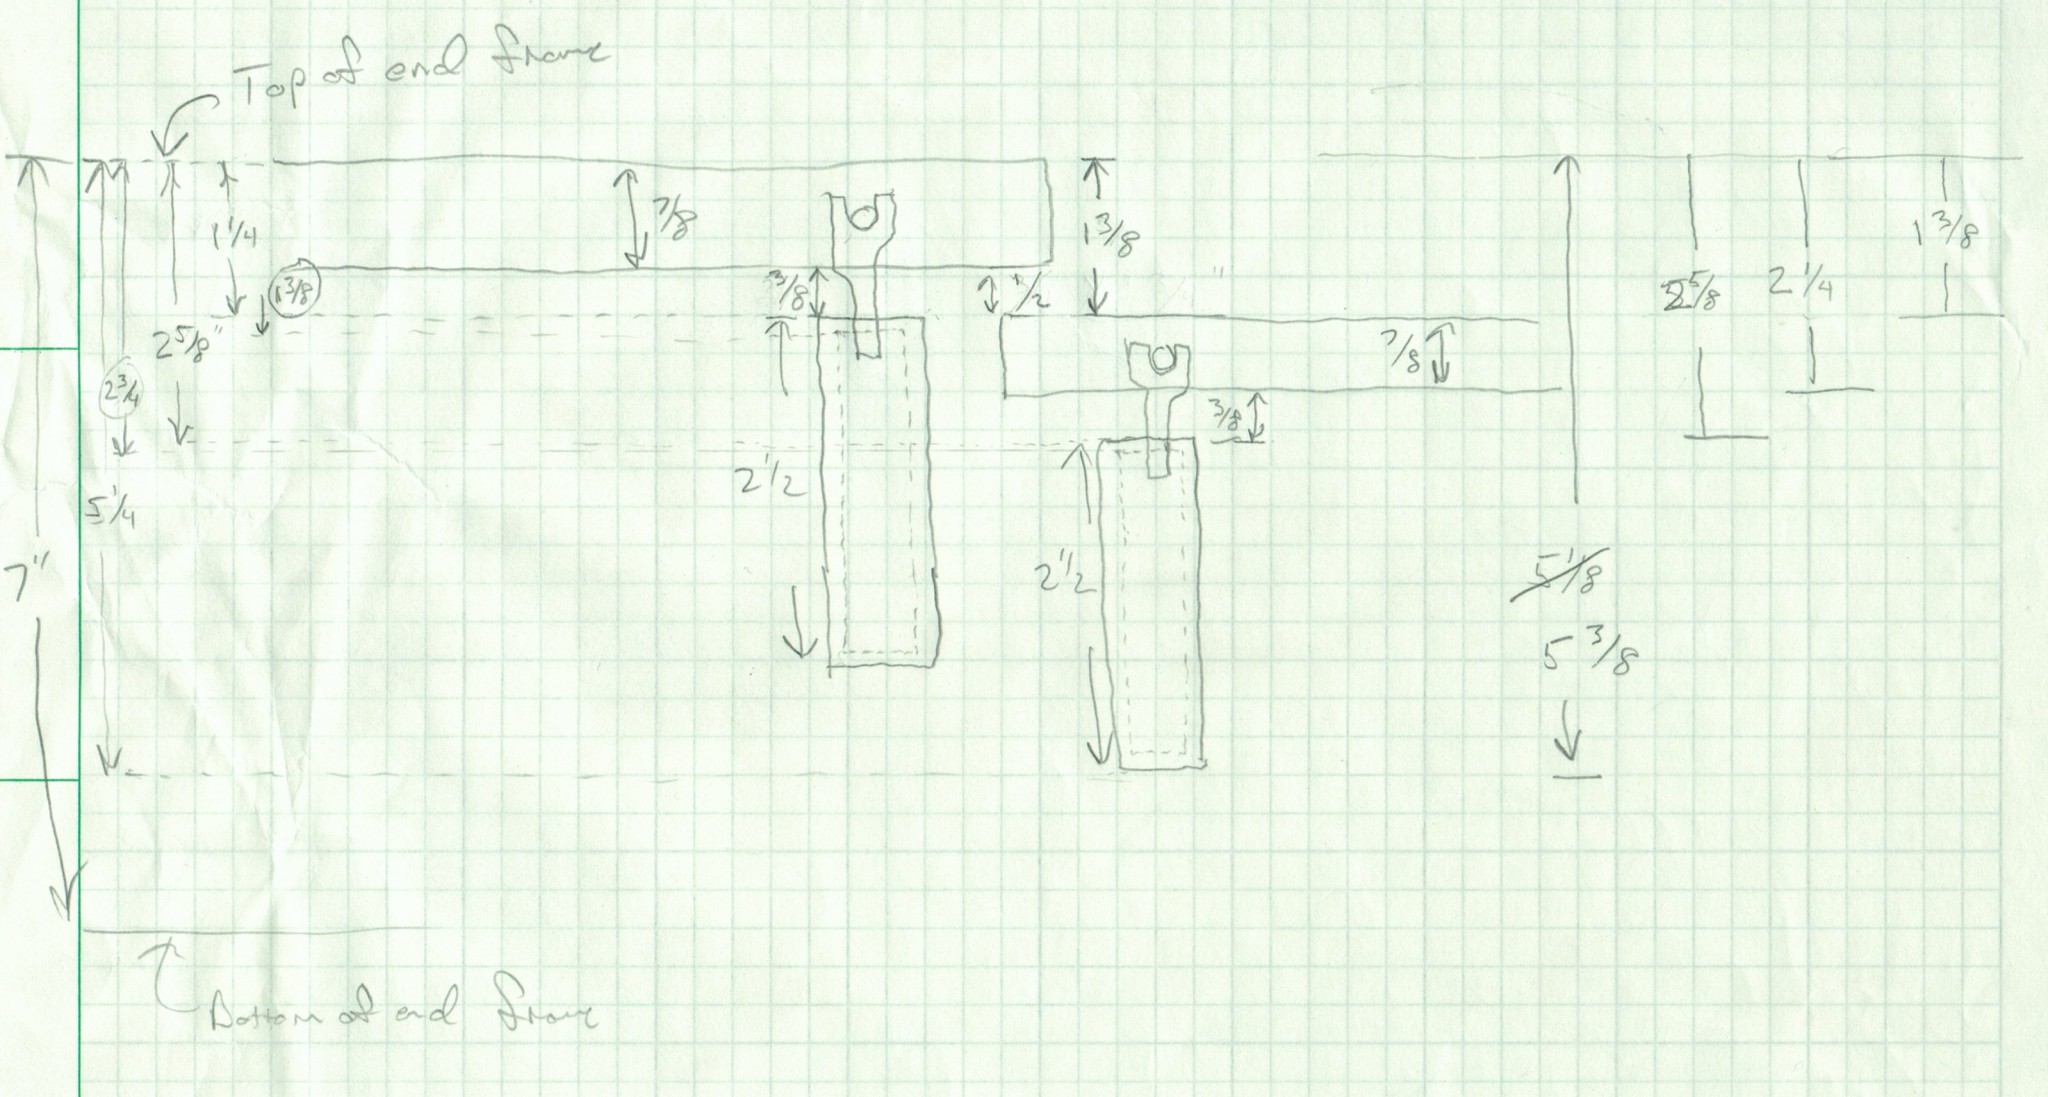
When laying out the mortise locations for the Maple frame ends, we indexed everything from the top and fore/aft center of the rectangular frame end pieces. The rails themselves were made from 1×2.5 Mahogany stock. We chose Mahogany because it is dimensionally stable (i.e., unlikely to bow,) because we thought it would look good with the Maple and Rosewood and because we had it on hand. For strength, we wanted the largest tenons that we could reasonably make. The largest chisel for my tenoning jig is ½ inch, so that established the width of the tenons. To keep the shoulder consistent at ¼ inch, we made the tenons ½ x 2 inches.
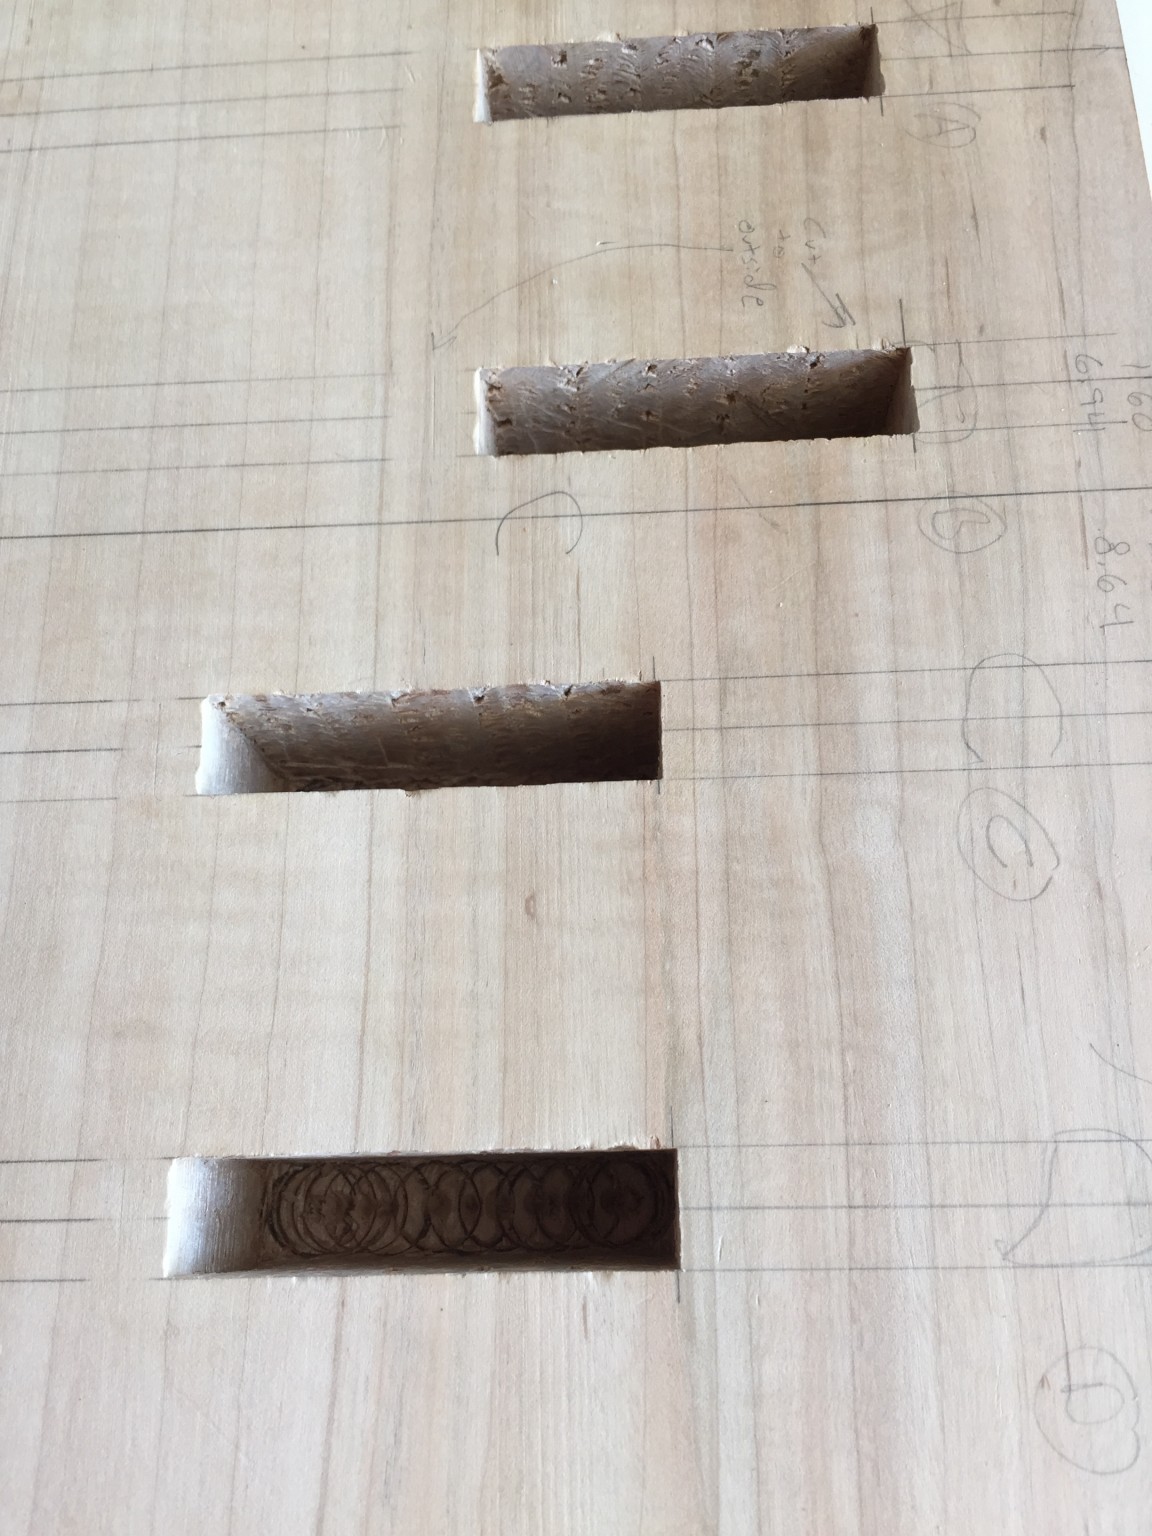
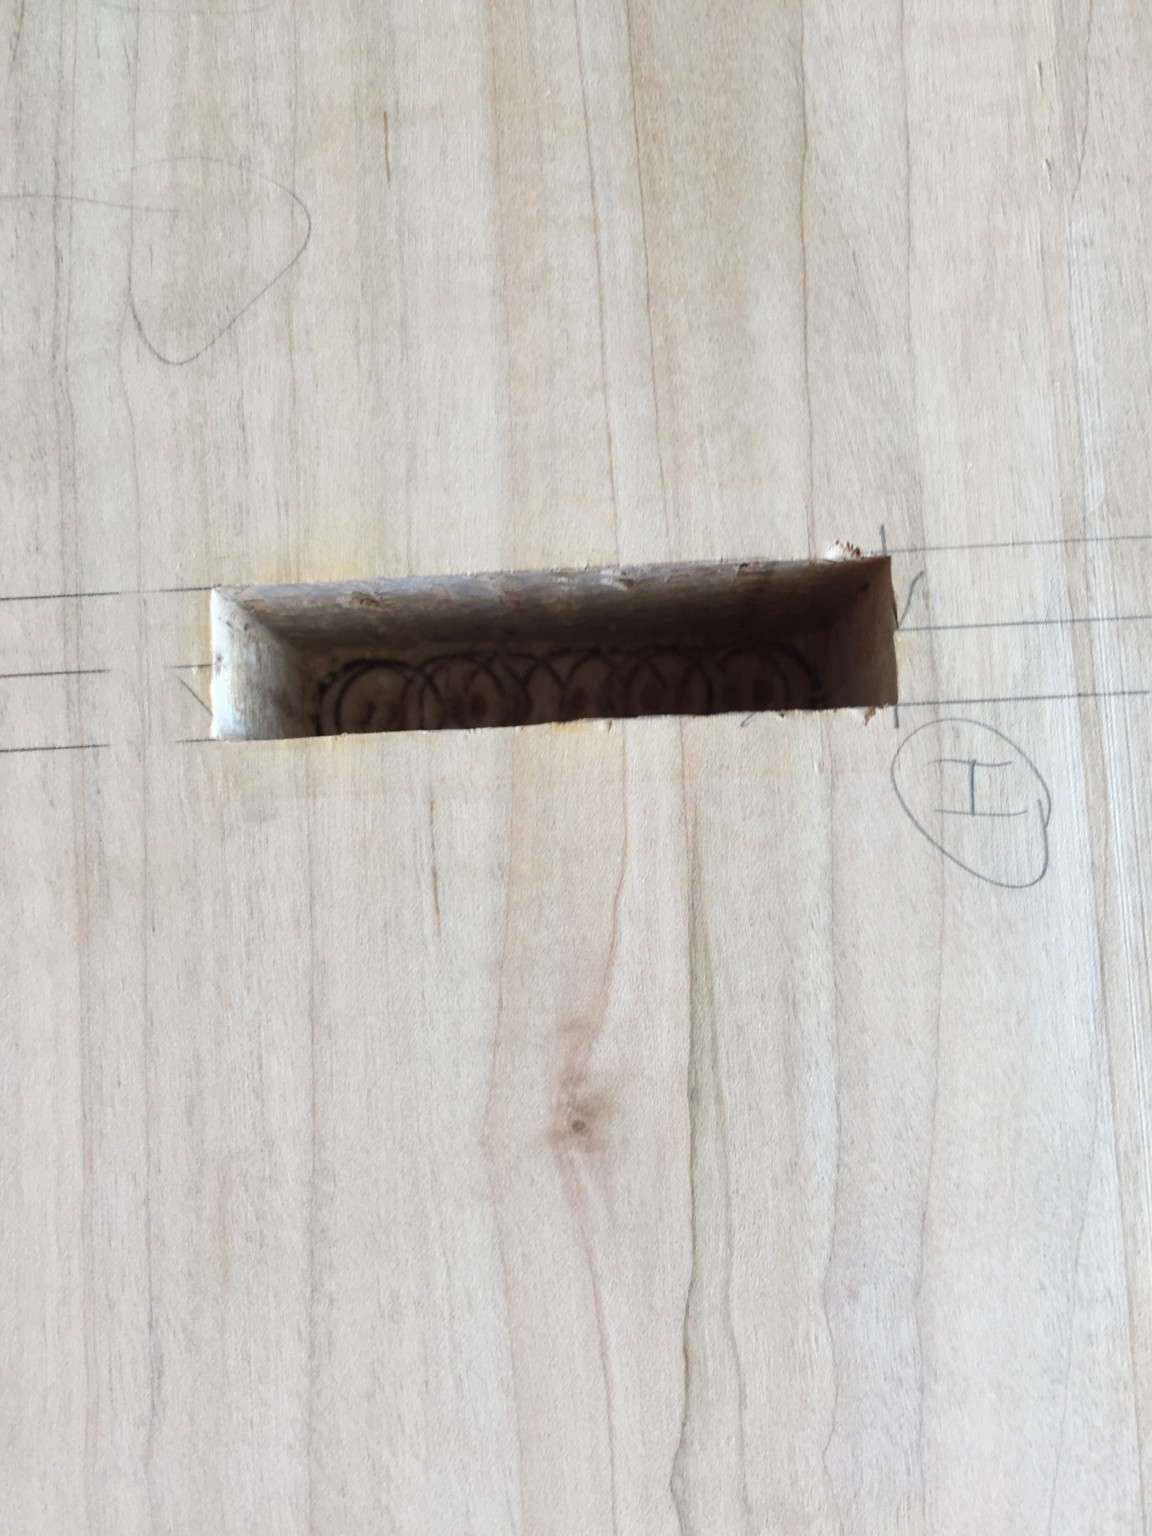
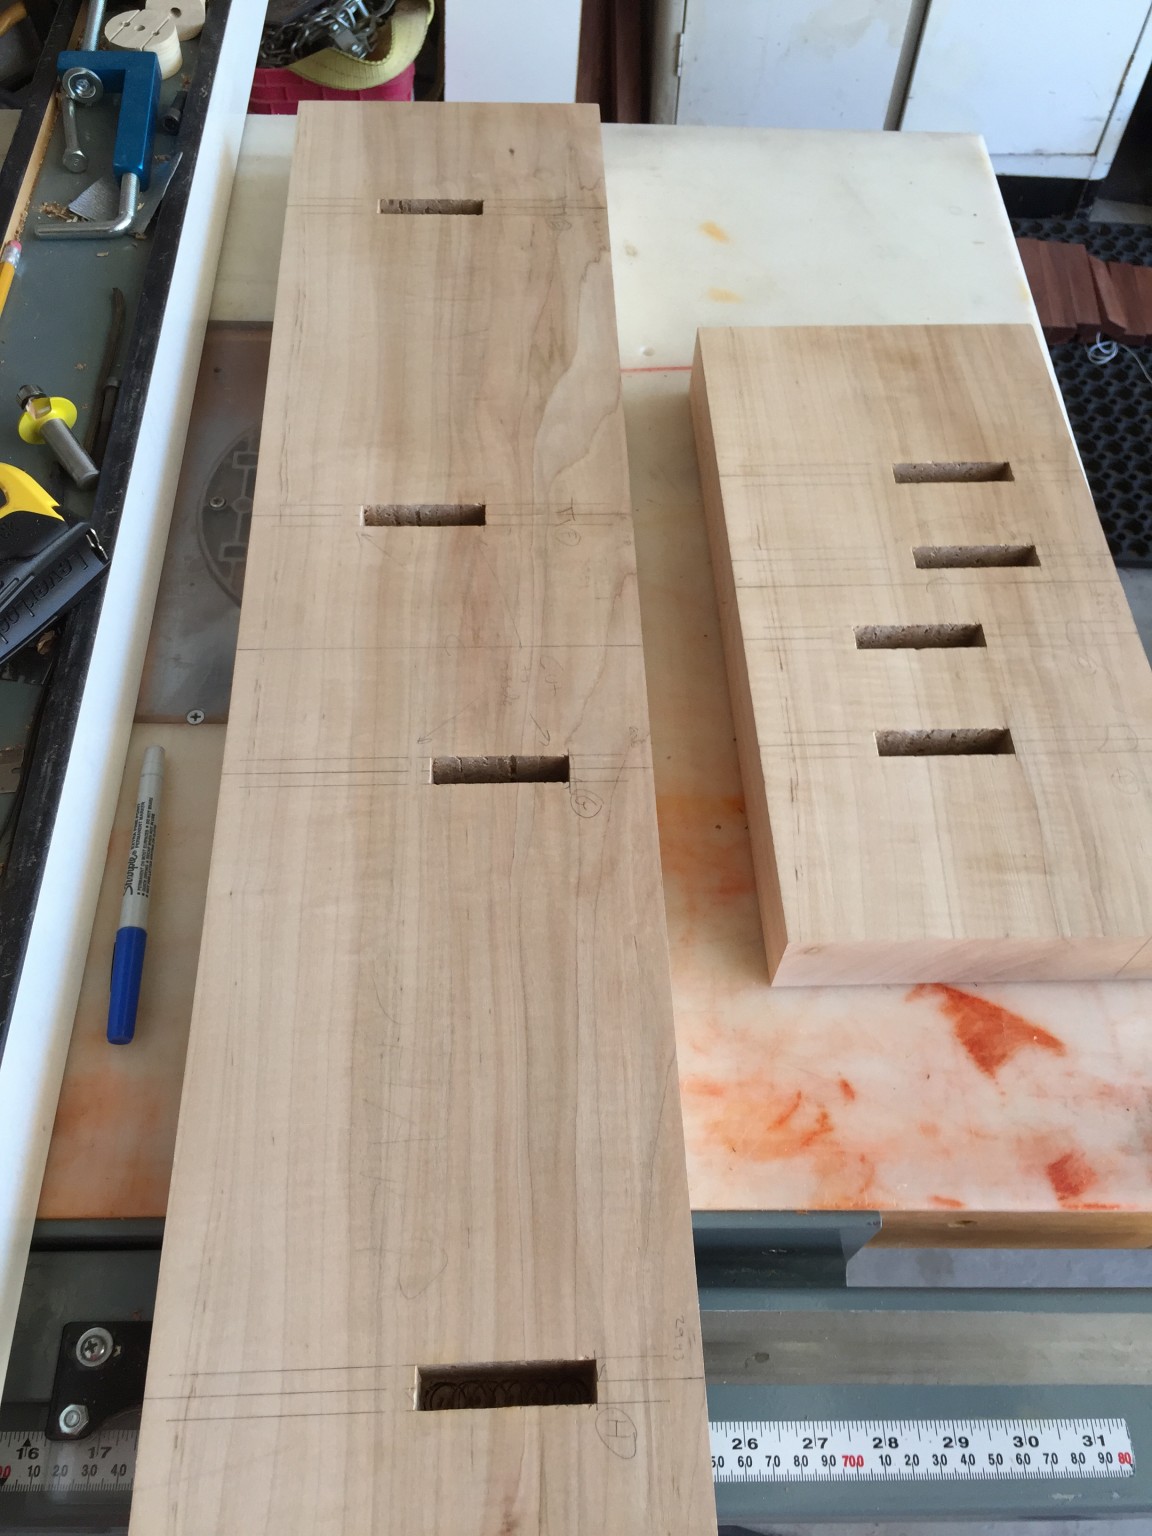
To keep the layout as simple as possible, we centered each of the support pins on the midpoint (in the thickness direction) of the Mahogany support rails, so the center line on these rails had to meet up with the marked locations on the frame ends accurately or the suspension strings wouldn’t pass through the center of the bar holes. So getting the mortises accurately placed in the Maple end frame pieces was important. Here is a few photos of the mortised frame ends:
With the mortises cut, we had to make the tenons on the ends of the Mahogany support rails. What made this somewhat tricky was that these tenons had to be angled, relative tot he long axis of the rails. Angled tenons are always a bit tricky, but this was complicated by the fact that each of the four tenons for a given end were at different angles – a lot to keep track of.
I cut these angled tenons using a delta tenoning jig on my table saw, with Jack on quality control (i.e., making sure I got the correct angles and in the correct directions). I don’t have any photos of this, but I’m sure there is lots of info on the web that describe cutting angled tenons. Personally, I think the “cheek” cuts on the shoulders is the hardest part.
Here are a few photos of the final tenons:
Next up
The tenons and mortises were cut, but we still had to mark and drill all of the holes for the posts and had to shape the end frames. We’ll discuss that, and a few other odds and ends, in the next post.