A Little Background

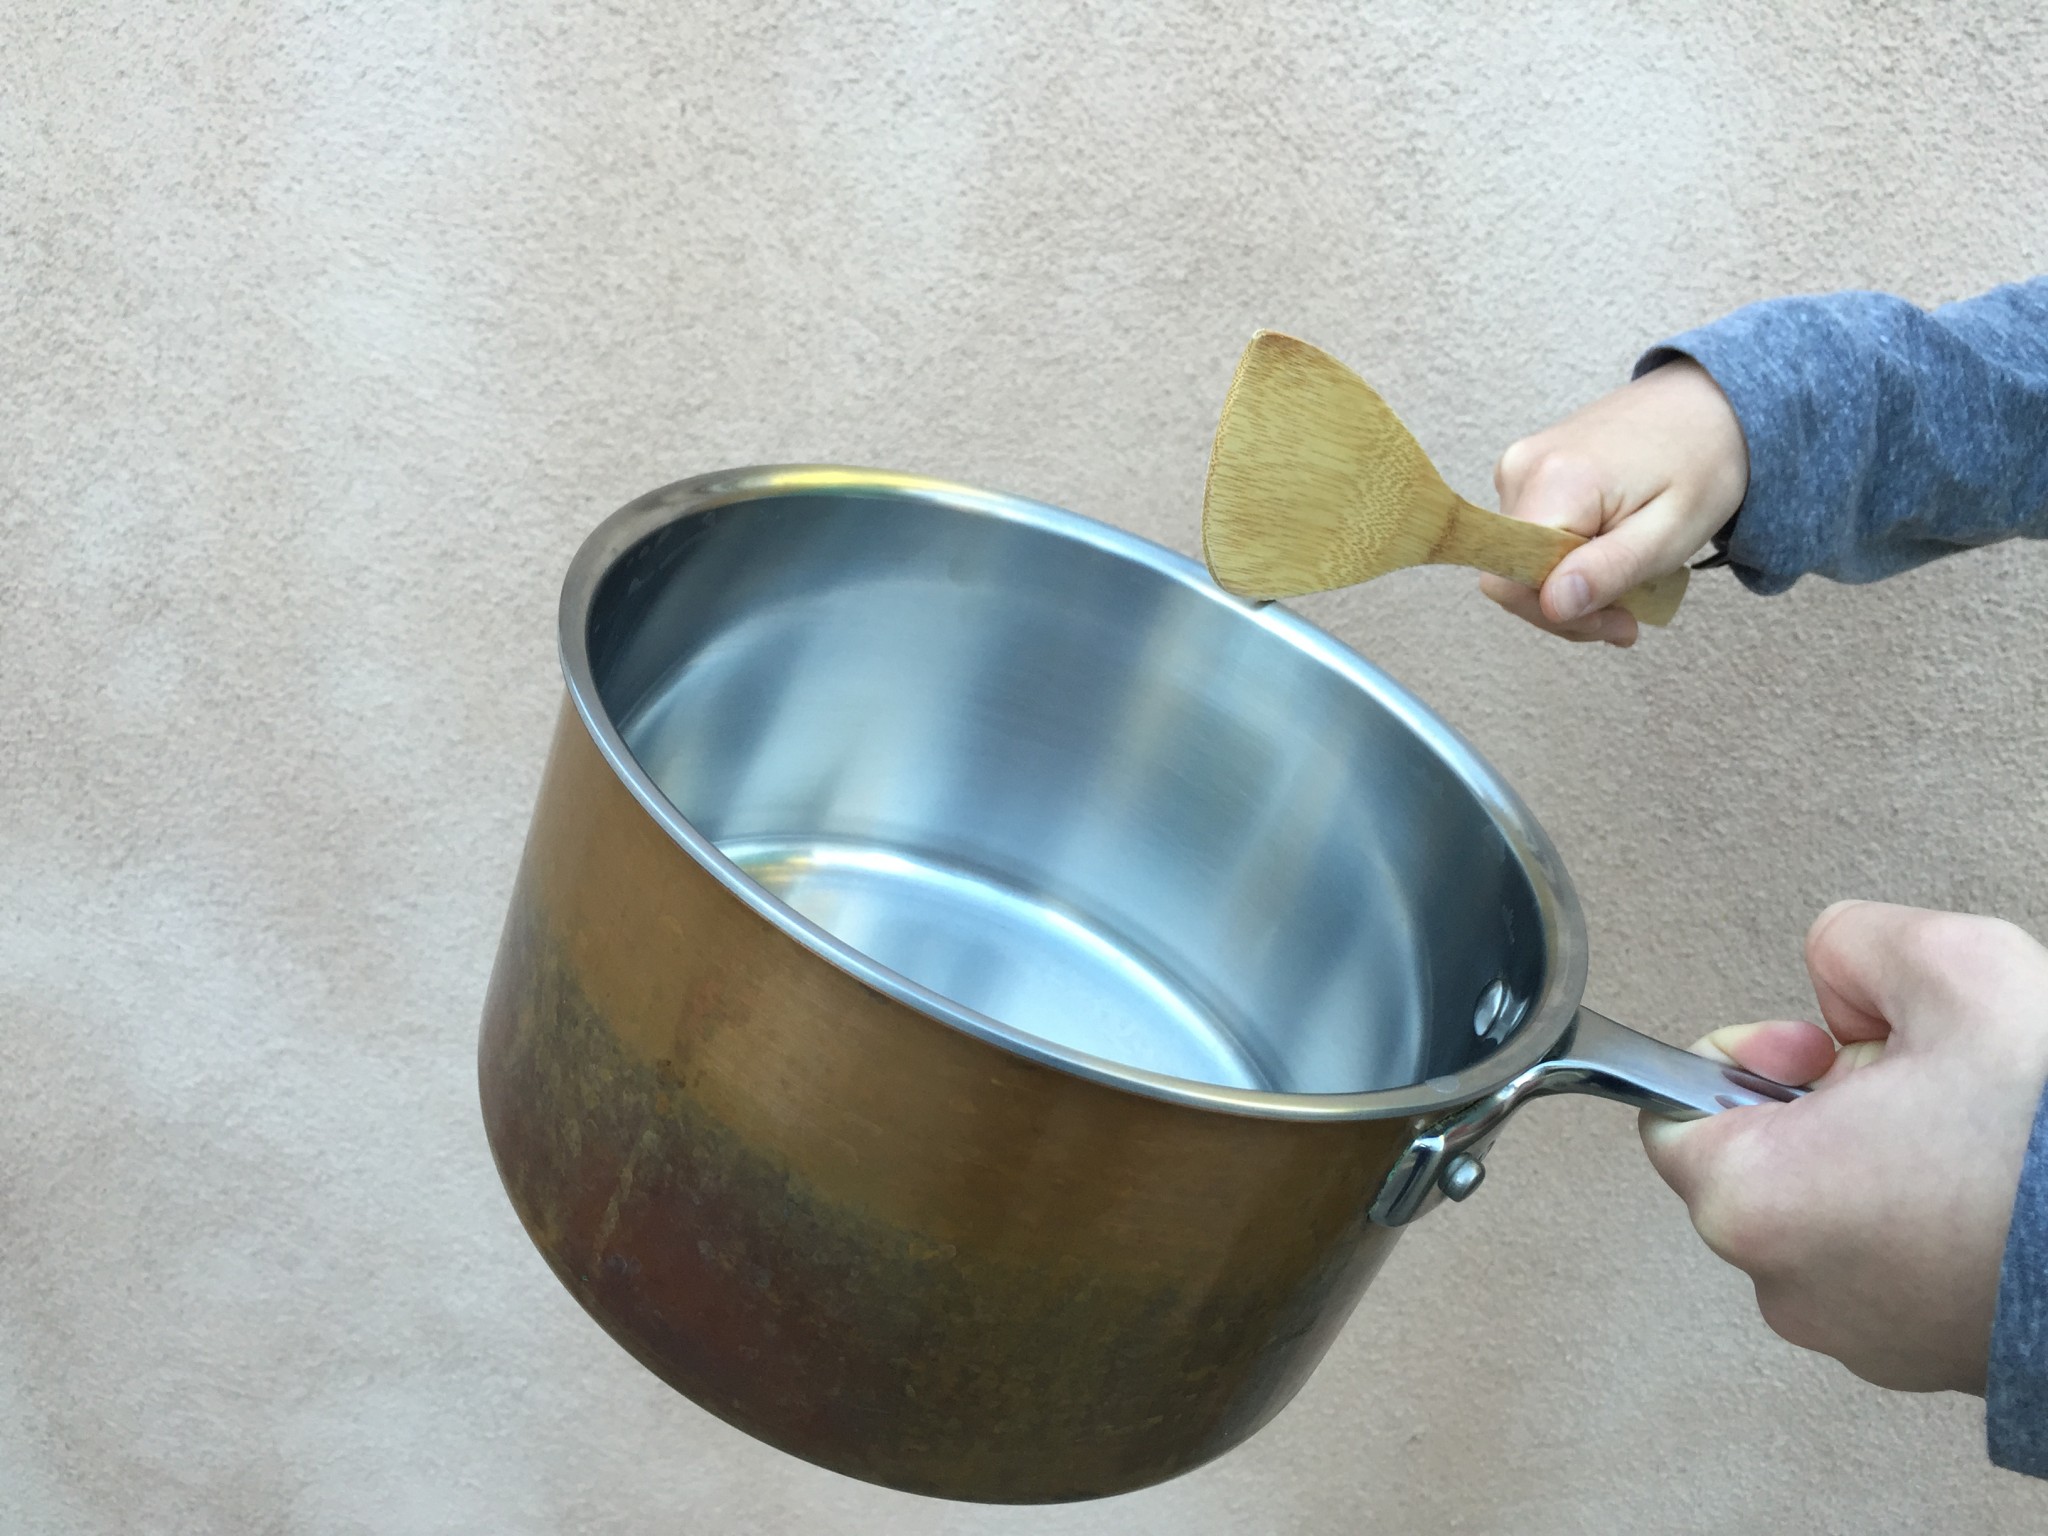
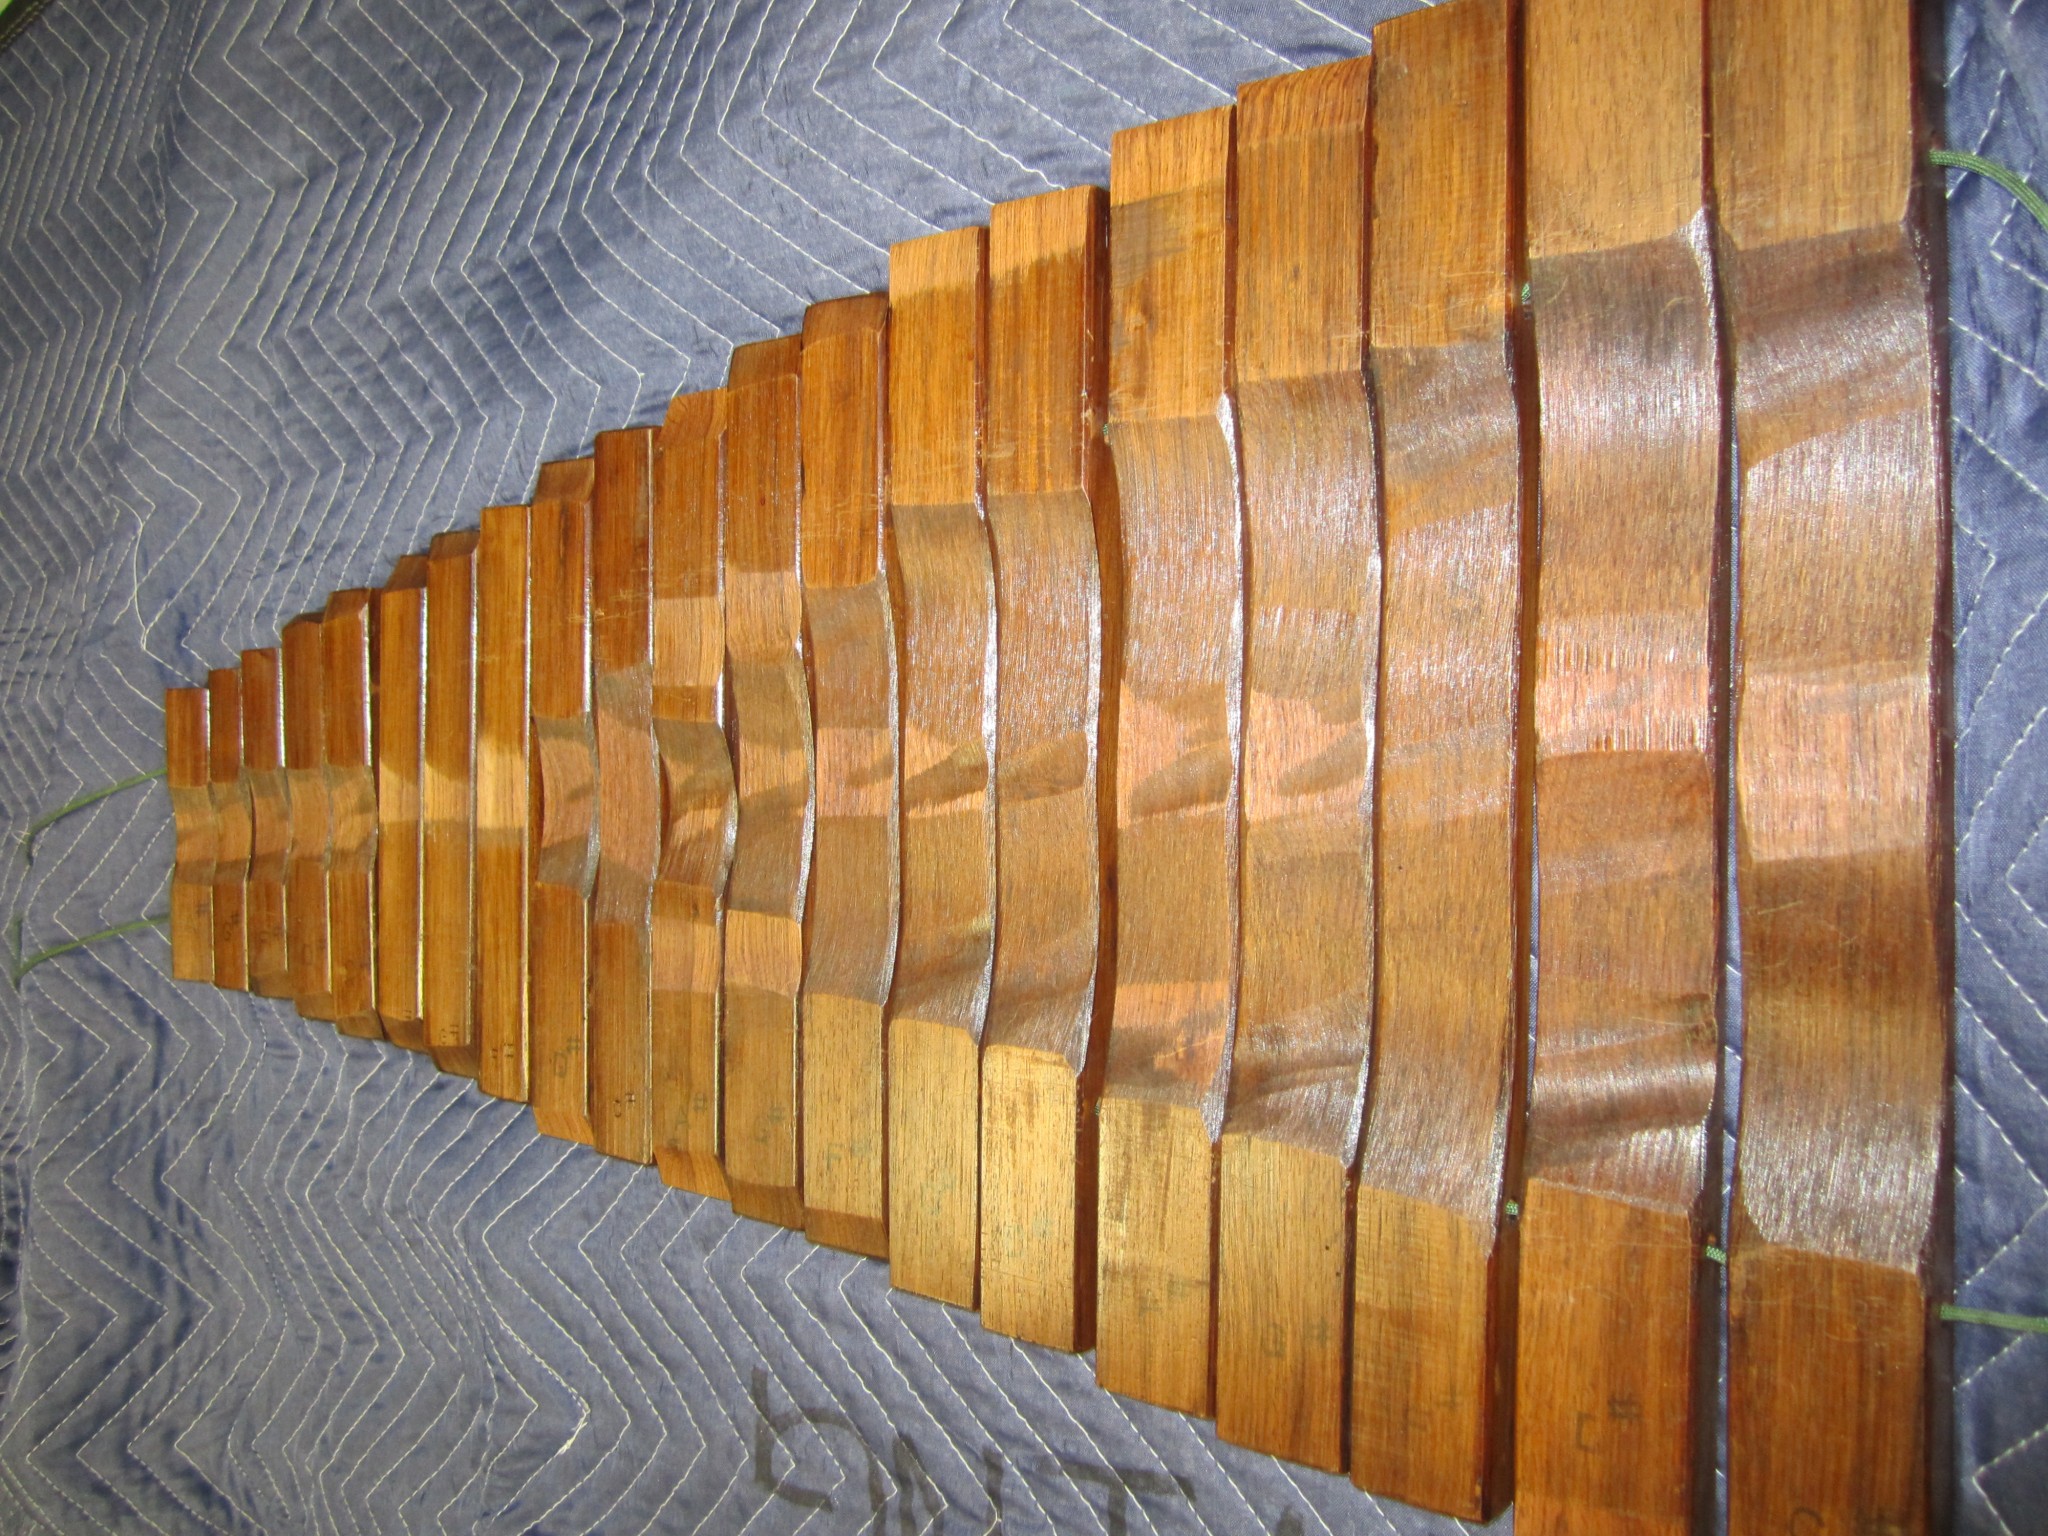
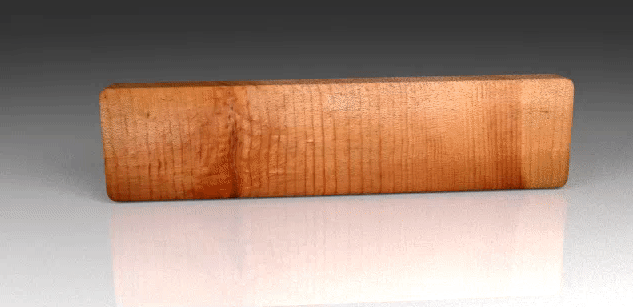
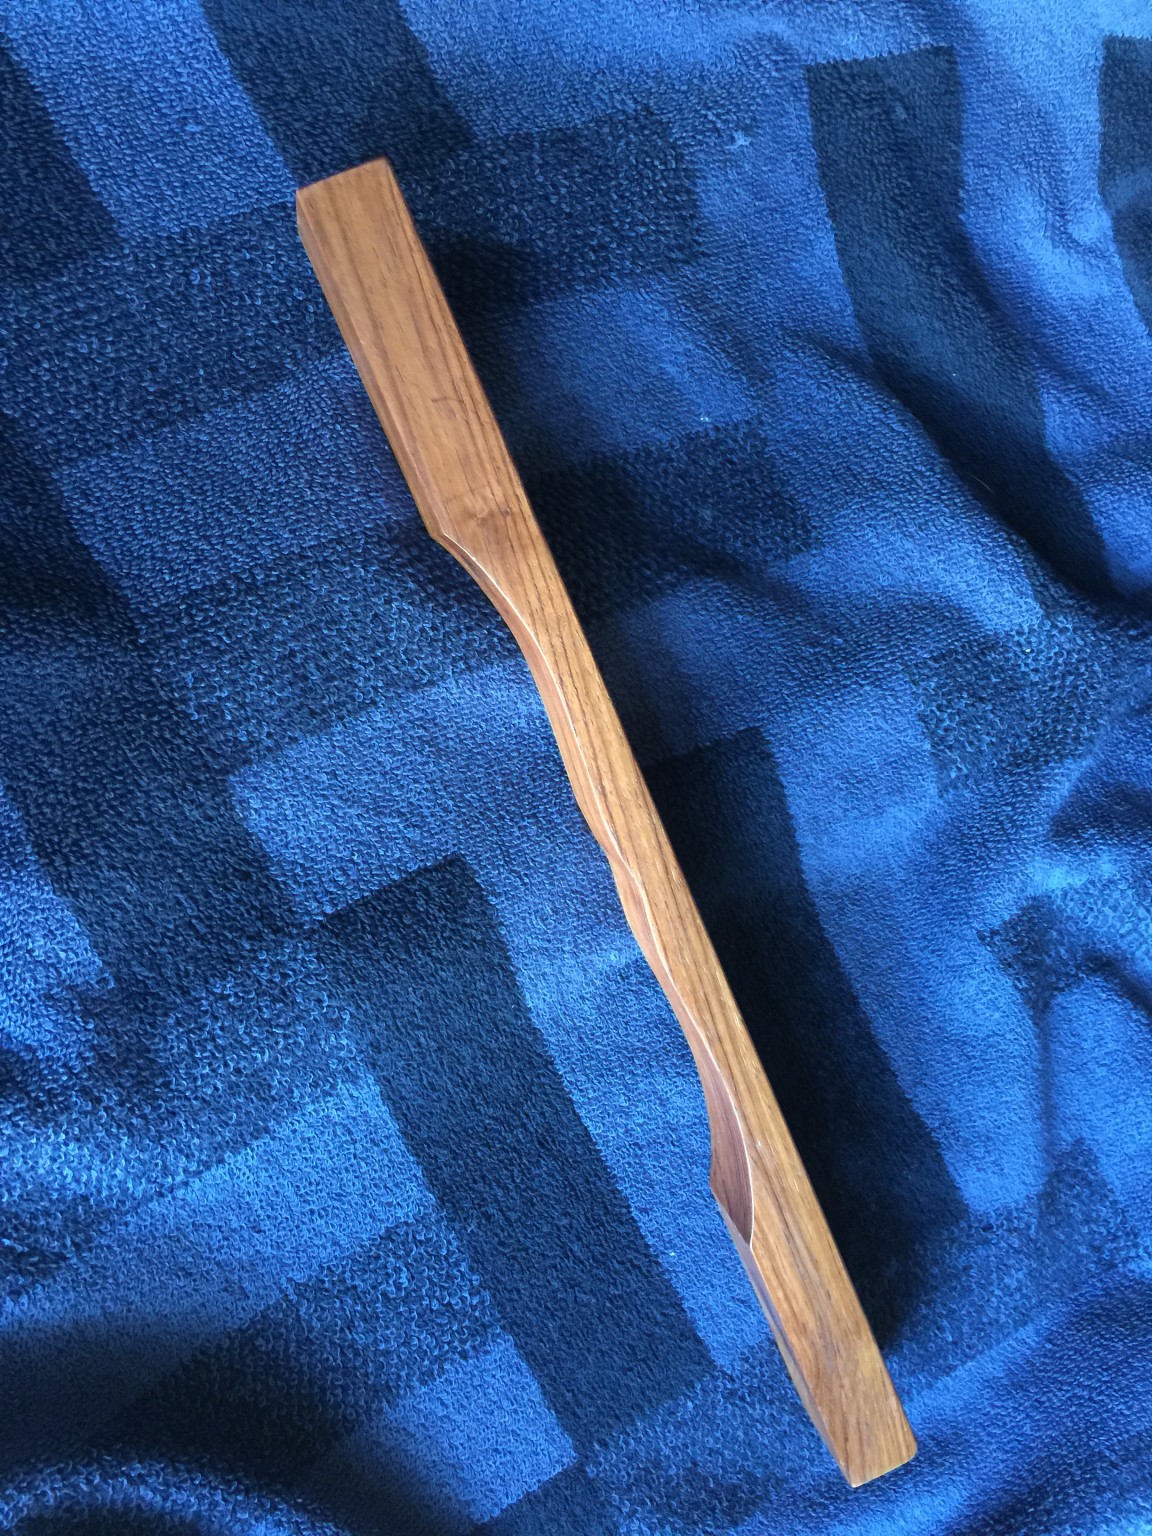
OK, we’re getting smarter. We now know that it is necessary to shape the underside of the bars to tune them; this is a good start!

“But what is the right shape?” An even more fundamental question is, “What are the desired frequency characteristics for each xylophone bar?”

Before anything else, I want you to know that I am not a musician; I have dabbled in guitar and ukulele, but my instruments mostly just collect dust in my closet nowadays. My point is that while I’ve got a decent handle on the engineering and science, I am less than an expert on the musical implications of xylophone tuning. So for the musical purists out there, please cut me some slack.

One very important fact about xylophone bar tuning is that it is necessary to control the fundamental and overtone frequencies in order to make a harmonious bar. Tones produced by the bar should produce a chord, rather than a series of unrelated sounds. Note that the term “partials” is used to describe the various tones produced by the bar. The first partial (the lowest, and most dominant tone) is called the fundamental, and the higher partials are often called the overtones. To clarify:

fundamental = first partial

second partial = first overtone

third partial = second overtone

And so on…

A Semantic Warning!

There seems to be some overloading of the term “partial” in the literature. It appears that the engineers use the term differently than the musicians. For example, the Bork paper defines the term “partial” to be any of the dominant tones produced by the bar (consistent with my use above). These might be frequencies that are integral multiples of the fundamental, or they might not be. However, in the musical literature, it appears that the term is often used to describe the integral harmonic. For an example, check out this informative site from the Vienna Symphonic Library. In that post they state, “Xylophone bars are often tuned in such a way that the 3rd partial (= octave + a fifth above the pitch of the fundamental) is more prominent, …” An octave plus a fifth corresponds to the frequency ratio of 3, relative to the fundamental. So when they say the “3rd partial” they are referring to the tone that has a frequency of 3*fundamental. However, this is the second dominant tone, so Bork and I would call that the 2nd partial. I am not sure what the “correct” use is, but be aware of this confusion and note that I will use the Bork definition consistently.

More Semantics…

Sometimes the term harmonic is also used. Harmonics are partials that are integral multiples of the fundamental frequency. That is, they are frequencies that are like 2*f, 3*f, etc., where ‘f’ is the fundamental frequency. Values like 2.153*f or 5.416*f are not harmonics because they are not integral multiples (i.e., they are not whole numbers times the fundamental). Lots of folks incorrectly use the terms harmonic to mean any frequency higher than the fundamental.  I am guilty of this semantic misuse too, but will try to use the proper term partial to avoid confusion. See Wikipedia for a much more careful description of these terms.

Semantics aside, here is the important part: for a xylophone bar to sound good, the ratios between the first two overtones, relative to the fundamental, must be specific values. Namely, in the United States, the bars are tuned so that the ratios are 3 and 6. That is, the second partial has a frequency of 3 times the fundamental (i.e., first partial), and third partial has a ratio of 6 times the fundamental.  In shorthand, the ratios are 1:3:6. This is sometimes called “quint” tuning because the second partial is a major fifth above an octave. You can learn a little more about quint tuning at the Deagan ebsite.

Without getting too far ahead of myself, here is a chart that provides the tuning of the first 3 partials for the Kori xylophone at UNM.

Measured spectral tuning graph for Kori xylophone.

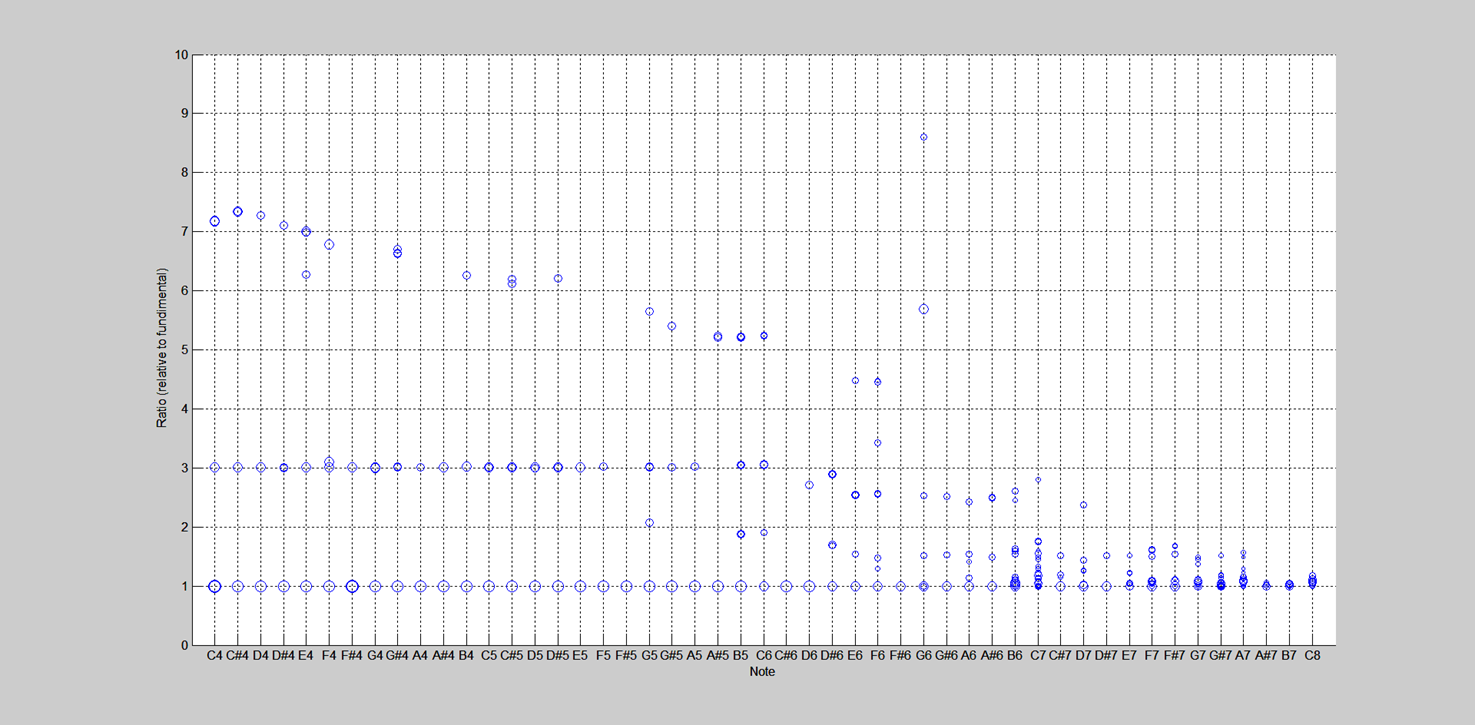
On the graph, the notes are plotted along the bottom, and the frequency ratios for the measured partials are plotted on the y axis. Clearly, the first and second partials are right on the money (at least for the lower notes). Third partial, however, sort of wanders around the desired ratio of 6. You will hear lots more about my spectral analyses of various instruments later.

Why 1:3:6?

It is reasonable inquire about the origin of the 1:3:6 tuning ratio. To be honest, I didn’t find any great explanations of this, but there is some good literature on the web that describes why certain tones sound good together. For example, check out “The Physics of Music and Musical Instruments,” which has all kinds of good info. Alsocheck out “The Art and Science of Mallet Instrument Tuning,” which has an excellent discussion of some history of tuning and some discussion of the rationale for quint tuning.

In the next post, I will start to get into the approach to determining the correct bar shape.

REFERENCES

[1] I. Bork, “Practical Tuning of Xylophone Bars and Resonators”, Applied Acoustics 46, 103-127 (1995).

It’s all about the shape

It didn’t take a ton of research to figure out that the xylophone bars had to be shaped, not just cut to length. In this case, tuning means carving the bottom of the bar to yield the desired tonal characteristics.

Here is a picture of the underside of the bars for a Kori xylophone that I checked out at the University of New Mexico. Thanks to Scott Ney, I was able to dissect this instrument!

Shaped underside of some of the bars for a Kori Model 310 xylophone.

While I don’t have the skill (or patience) to provide a full-on description of the physics related to vibrating objects (like a xylophone bar,) I will describe a few basics to get you started. Nerds: you probably already know this stuff and can safely skip to the next section.

Vibrating Bodies

We all know that when something, like a bar of wood, is whacked, it vibrates for a while and then the sound eventually dies out. The duration of the sound is referred to as the “decay” of the signal, and there is a precise definition that quantifies the decay duration in seconds. What many people don’t know is that pretty much every object has a preferred frequency at which it generally vibrates. Think of whacking a frying pan versus big pot; you can hear the difference in the tones between these two objects. The frying pan “wants” to vibrate at a higher frequency than the big pot. Further, each object will typically vibrate at a series of discrete frequencies called modes.

For those without science knowledge, what you may not know is  that what you are really hearing is one “fundamental” tone, and then a series of different, higher tones that are related to the fundamental tone in complex ways. It is the relationship of this fundamental tone and the “overtones” (and how quickly each tone dies off) that creates the overall tonal characteristics (i.e., the timbre) of the object.

It turns out that it is possible, by choosing the shape of the object, to control the fundamental and overtones.

WARNING: You’re entering a zone of extreme nerdiness. If you don’t care about physics and math, you may want to skip the next few sections. Although, be warned – nerd-speak is sprinkled throughout  the rest of this blog.

nerdvenndiagram
Helpful diagram to determine if you are a nerd.


Building a xylophone in 613 easy steps

Our xylo-adventure started when Jack asked for a xylophone for Christmas. He wasn’t asking for a Fisher Price, but rather a full-on concert grade instrument.

Not the xylophone Jack wanted.
Not the xylophone Jack wanted for Christmas

Jack plays piano and percussion in his school bands and wanted an instrument to practice at home. My knee-jerk response was to say “sure, dude!”  When I did my research, however, I almost had a heart attack- I was not going to pay $2000-$4000 for a series of wooden blocks! So I, an electrical engineer and a weekend woodworker, set out to build one. “How hard could it possibly be to build a one?” I asked myself. (Answer: pretty damn hard!)

So last December, I jumped in with both feet. Like most people, I assumed that Google would do the majority of the work for me. Over  Christmas break, I begin scouring the web. My laptop kept me warm for countless winter evenings while I searched for a canned xylophone recipe. It quickly became apparent that if anyone like me had built a high-end xylophone, they had not published their efforts on the web. I found lots of “toy” efforts built from PVC pipe and the likes, but got exactly zero hits on building a concert xylophone. Along the way, I did find one amazing site called La Favre that had tons of info about building a marimba (basically a giant xylophone). The La Favre site was pivotal in that it was the first source that I found that addressed tuning of the bars. It doesn’t take more than high school physics to know that the longer the bar, the lower the pitch; I, therefore, assumed that tuning just meant cutting the bars to the correct length. Au contraire – the tuning of idiophone bars (the fancy, scientific name for musical instruments that you whack with a stick) is performed by shaping the underside of the bars in just the right way.

One of my "shaped" xylophone bars.
One of my “shaped” xylophone bars.

Getting shape right is really the secret sauce to building an instrument that sounds great. Stick with me and you’ll hear a lot more about this!

A Teaser…

As a teaser, below is a one-page summary of the xylophone that Jack and I built. Read the subsequent posts if you want to learn more about our journey.

The whole project distilled into a single page

Here is what it sounds like. These are just a couple of clips of Jack noodling around.

Here is a photo of the completed instrument.

The final product!
The final product!

May 21, 2016 update: Here is a sound file of Jack playing a song he learned. The recording is so-so, but hey, I’m not a recording engineer!