With the rough tuning done, and the holes drilled, Jack and I moved on to the fine tuning. Our goal going in was to get the fundamentals to within about 5 cents.
The fine tuning took a bit more time than the rough tuning, because we had to be very careful not to remove too much wood – you really have to sneak up on the target frequencies.
After all of the iterations, here is a plot of the resulting bar frequencies and overtones:
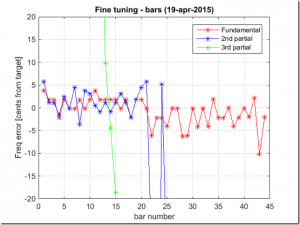
As you can see, the fundamental frequencies are almost all within +/- 5 cents. For bars 21 (C#6) and under, we were able to keep the second partial pretty tight too. We were not able to maintain the 2nd partial in the higher register, but this is consistent with other instruments that I spectrally measured. We expected the bars to settle out a bit more, so our plan was to tweak them one last time before applying finish to tease out the last few cents.
Bar #43 (B7) was problematic. As we were tuning it, it sounded a bit dead. The spectral response looked a little funny too. Here is the PSD for that bar:

Notice that the peak is not well defined. By contrast, here are the PSDs for bars 42 and 44:


These two have much more well defined peaks than bar 43. We looked back at the PSDs for the blanks, and the differences were not as obvious, so we couldn’t have caught this before tuning. We considered remaking this bar but ultimately decided it was good enough. Perhaps we will replace it in the future.
Here is what the bars sounded like at this point:
All sound pretty good except for the B7 bar, which, as noted, sounds a bit dead.
Just for fun, here is a sped-up video of me tuning on of the bars:
As you can see, I move back and forth a lot between the sanding and tuning stations.
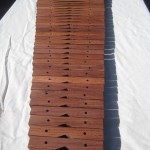
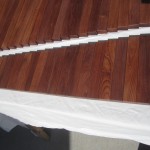
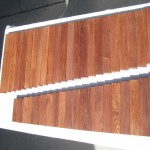
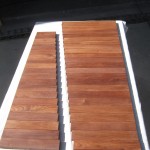
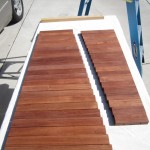
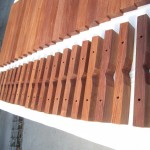
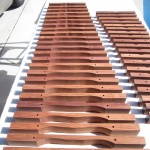
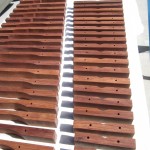
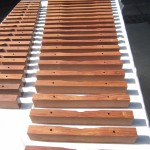
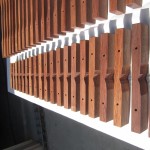
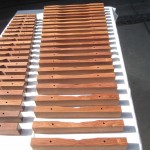
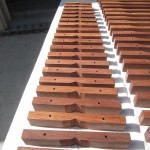
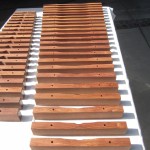
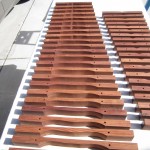
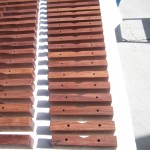
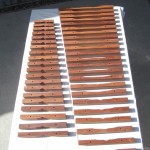
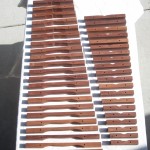
After tuning, I removed the labels and cleaned them up a bit. Here are a bunch of pictures of the bars:
Finally, if you are thinking about building your own bars, you might be interested in the following plot, which shows the number of times I made spectral measurements of each bar.
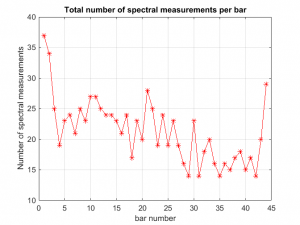
This included all of the initial measurements (i.e., of the blanks) and the rough and fine tuning. This also include a tweak or two that we performed after the fine tuning. As you can see, my longest and shortest bars took the most sand/measure iterations, since I was still learning. After I had these tuned, I worked my way from longest to shortest (i.e., bar #2 to bar #43). Once I got good, the long bars took about 20-25 cycles and the short bars were somewhat faster. All told, this was 939 total spectral measurements – a lot of time and patience.
How Long Did All of This Take?
You may be wondering how much time each sand/measure cycle took (I did,) so I plotted the time between spectral measurements for a typical bar.
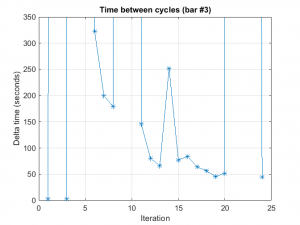
At the start, the when I was removing more wood, the cycles took perhaps 5 minutes. However, as I got closer to the final target frequencies, I was removing just a bit of wood, so the tuning approached 1 minute per iteration.
For round numbers, let’s assume each iteration took, on average, 2.5 minutes. The total time for bar tuning, then, is 939*2.5 / 60 ~= 39 hours. That’s a lot of tuning time! If I had to do this again, it might be a bit faster; at the end of the day, however, I don’t know that there is any way to speed up these cycles without the risk of overshooting the target frequency.
With the tuning essentially done, Jack and I moved on to building the frame and fabricating the resonator tubes. Stay tuned to hear more about that…
Had to check out your blog. Well done & inspiring. Loved the video!
Thanks Nick! It was a lot of fun building this instrument. The best part was spending time with my son and showing him what a regular guy can accomplish if he puts his mind to it. I think he will remember that lesson.